Previous part: Putting your web application online – Part 3 – Domain
| Starting point: | You have a Node++ application on the server accessible via domain name |
| This part result: | Everyone can access your application via https://mydomain.com |
| Skill level: | Junior |
| Time: | About 15 minutes |
Steps to take:
mydomain.com should obviously be replaced with your domain name.
Step 1 – Get an SSL certificate
In order to expose secure HTTP connection, that is HTTPS, we need a website certificate confirmed by an authority respected by browsers. It's called CA, Certificate Authority. Not too long ago they were only available to purchase from companies like Comodo, DigiCert, Symantec, GeoTrust or Verisign. Since several years though there is Let's Encrypt – free service provided by Internet Security Research Group. Although paid certificates still have their place in the market, I assume we are not at this stage yet and will be perfectly happy with the free one.
Worth noting is that they are technically no longer SSL but TLS certificates, however SSL certificate is still the most popular term.
Let's Encrypt certificates are managed by certbot. Because it's not available in the basic package repository, we have to enable Extra Packages for Enterprise Linux (EPEL) first, then install certbot:
Before we start creating a certificate, we need to disconnect port 80, that is – stop our application:
Now we can generate the certificate:
We've been asked for an email address and terms of service acceptance. The most interesting part of certbot's output contains certificate's file names and paths:
We won't need a root session for a while:
Before we start our application back, let's take the next step.
Step 2 – Node++ HTTPS setup
Having our certificate ready, we can now put its file name into Node++ configuration:
For Let's Encrypt certificate to work, we need to set all three parameters:
Now we can uncomment or add NPP_HTTPS to npp_app.h:
We need to now recompile the application:
Then update live:
And start:
In the browser address box, type https://mydomain.com
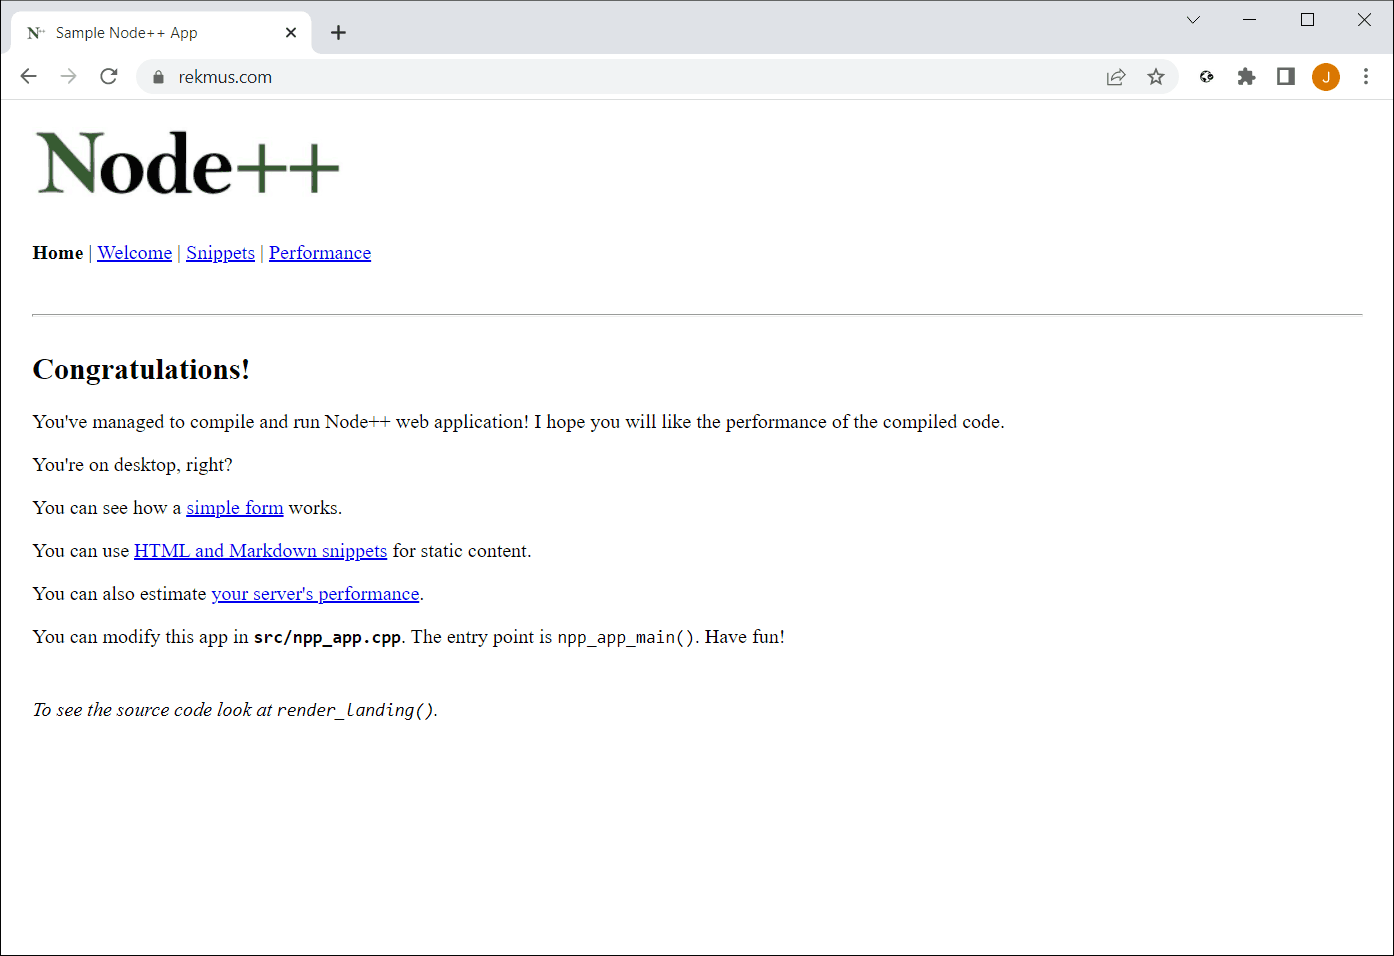
Note the padlock at the beginning of the address box which indicates we're now connected through HTTPS.
Step 3 – Certificate renewals
Every SSL certificate has a validity period. Let's Encrypt certificates are valid for 90 days. Before it expires, we want to renew it. It's as simple as running one command, although it requires port 80 access again:
That's it for now! We have our application available for everyone at our domain name and HTTPS, 24/7.
Next part: Putting your web application online – Part 5 – Database and USERS
Is something wrong here? Please, let us know! 