Previous part: Putting your web application online – Part 2 – Node++ app on the server
| Starting point: | You have a Node++ application on the server |
| This part result: | Everyone can access your application via http://mydomain.com |
| Skill level: | Junior |
| Time: | About 15 minutes |
Steps to take:
mydomain.com should obviously be replaced with your domain name.
Step 1 – Buy a domain
Technically buying a domain is not much different from any other online purchase. You need a reputable shop and some funds on your payment card. The real challenge is to find a good domain name which is not taken yet. This tutorial however does not cover it, as this is not a technical issue and it's entirely different pair of shoes.
As a reputable shop I've been using for years (among others) and can again recommend AWS. If you have gone through Part 1 of this tutorial or happen to use their services, just log in to the console. This time the service we're interested in is called Route 53:
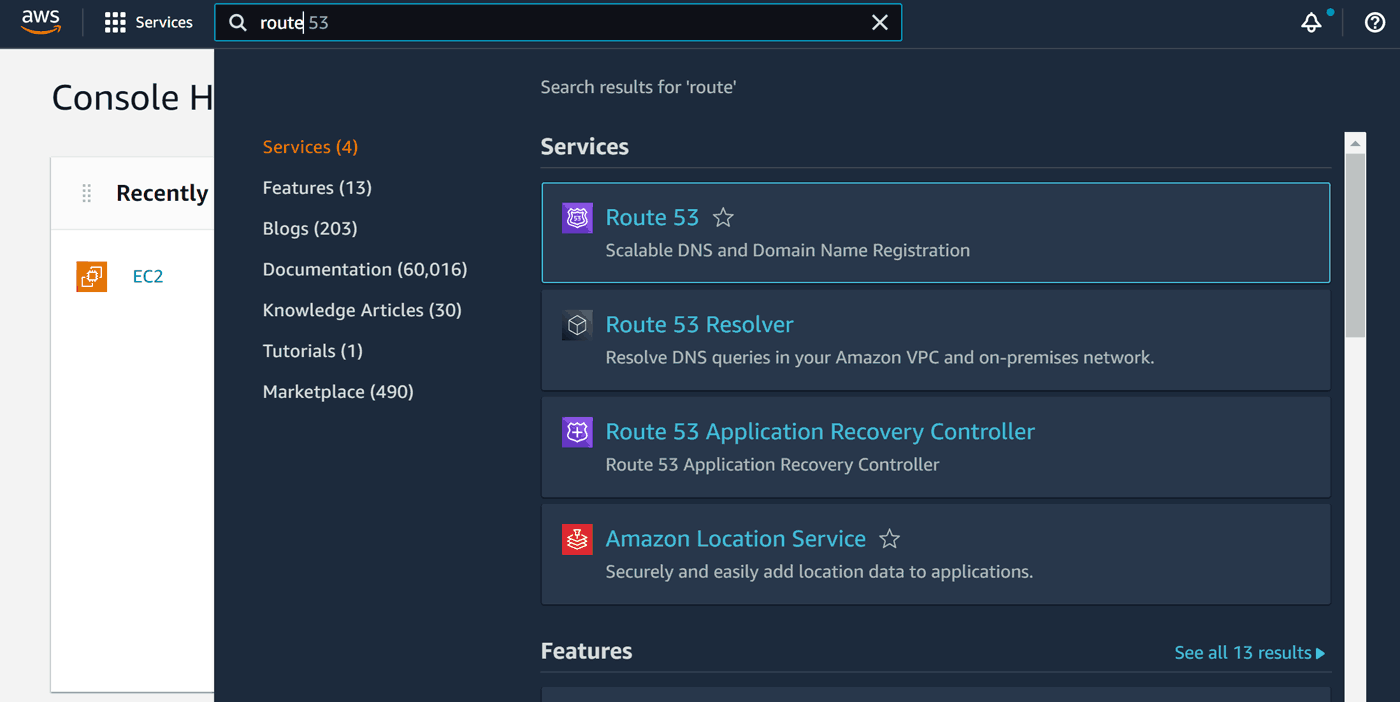
Note that Amazon doesn't break this service into regions but it's global:
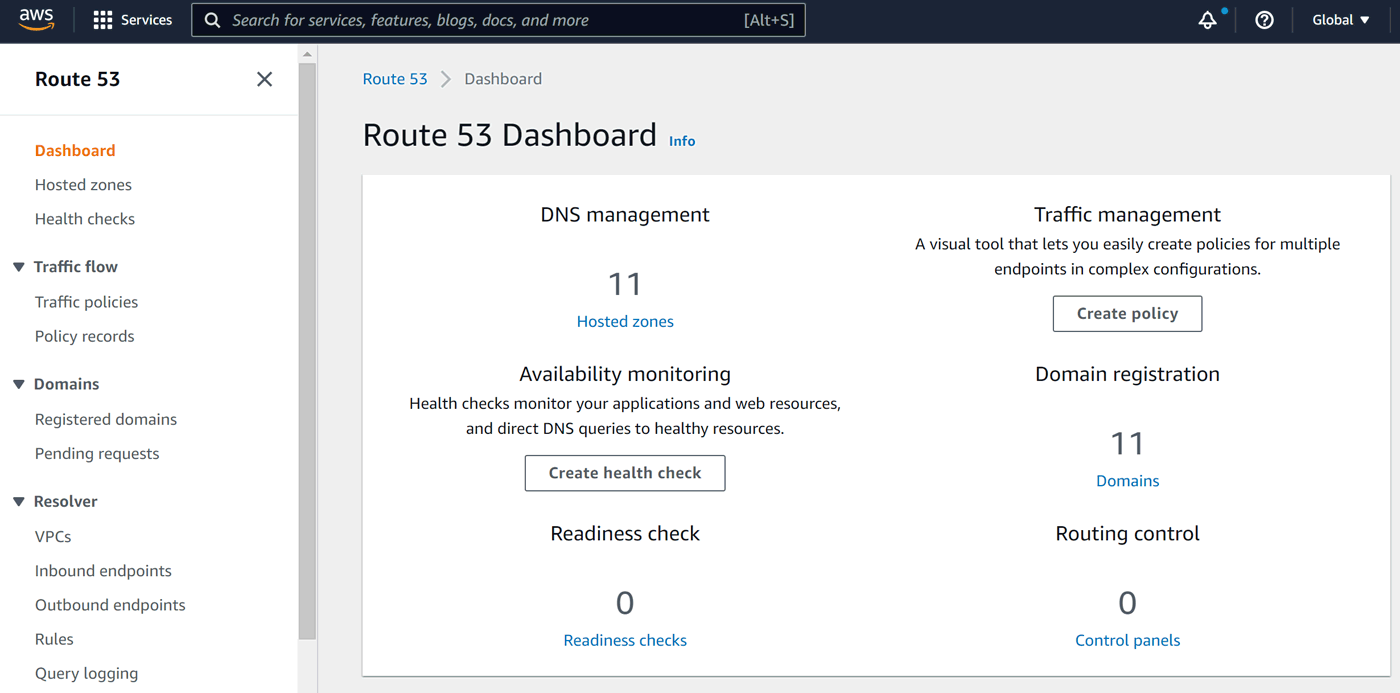
Click Registered domains:

As you can see, I already have some domains registered here. To register a new one, we need to click Register Domain:
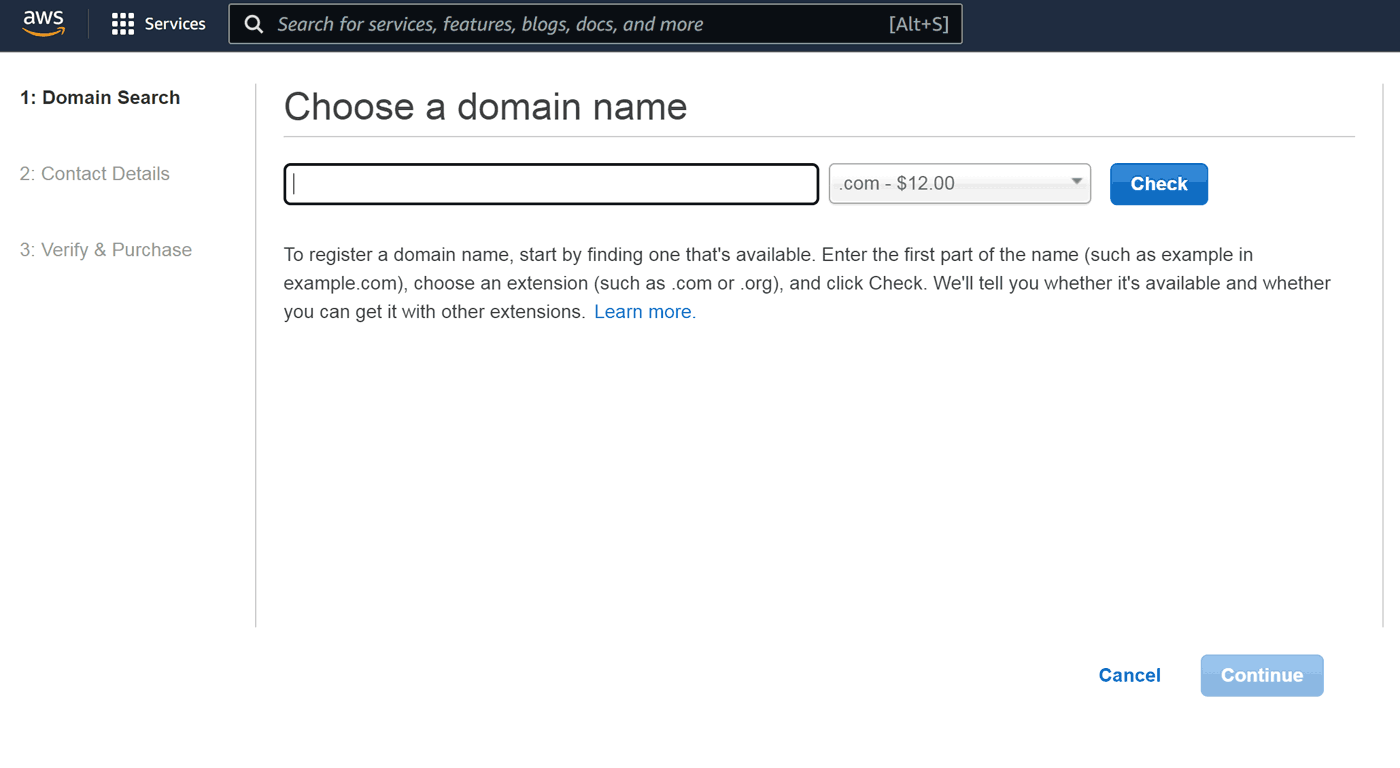
Trying to register domain is the only way to find out whether a domain name is really available. There are many registered domains without any website. They are called parked domains.
Let's try some cool name, like mydomain.com and click Check:
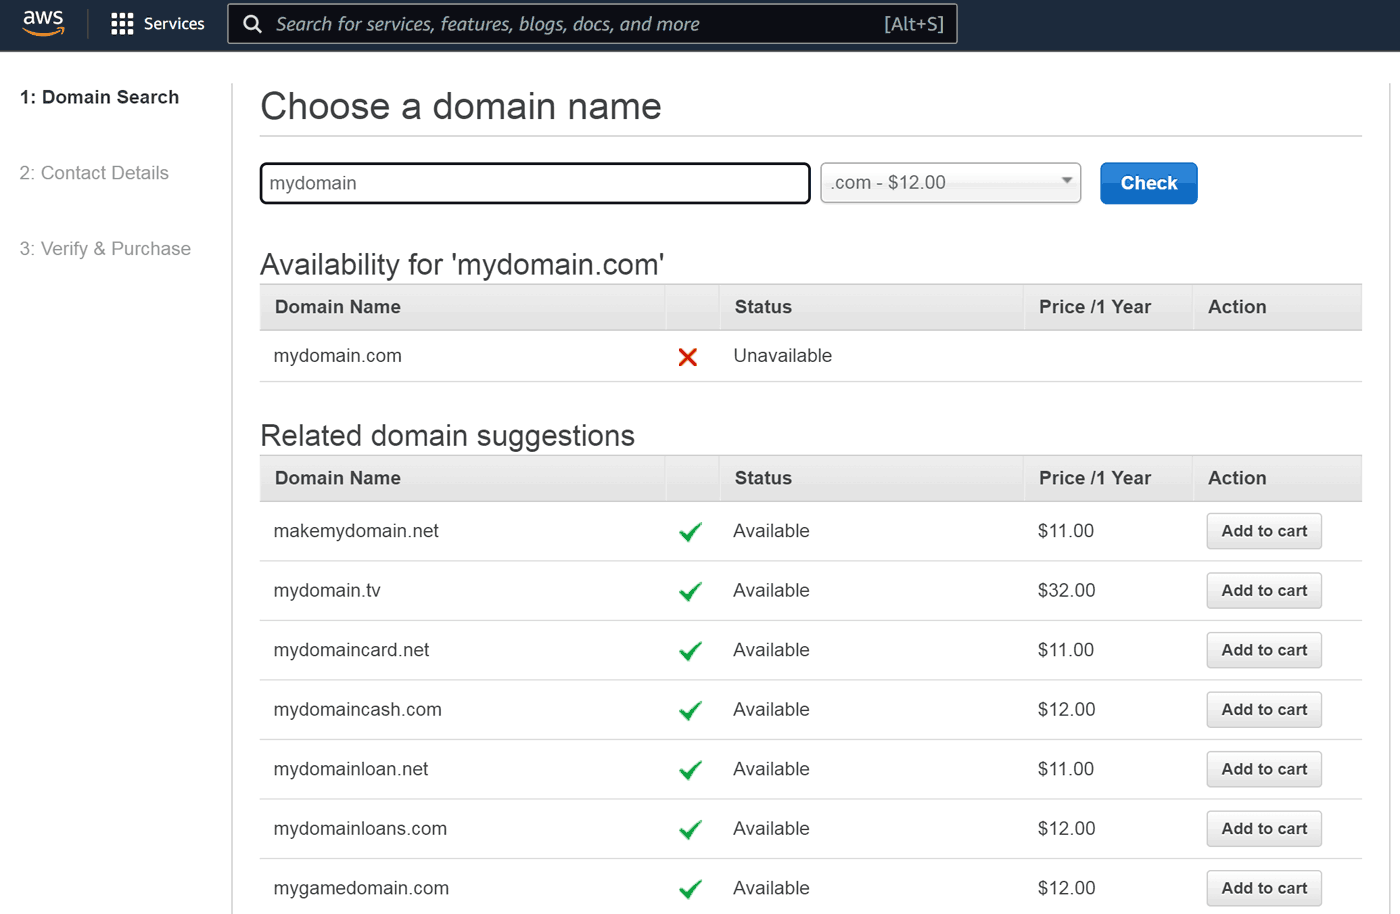
I don't know if you are surprised – I am not. As I mentioned at the beginning, finding a good and free domain name is an art in itself. Let's try something less popular:
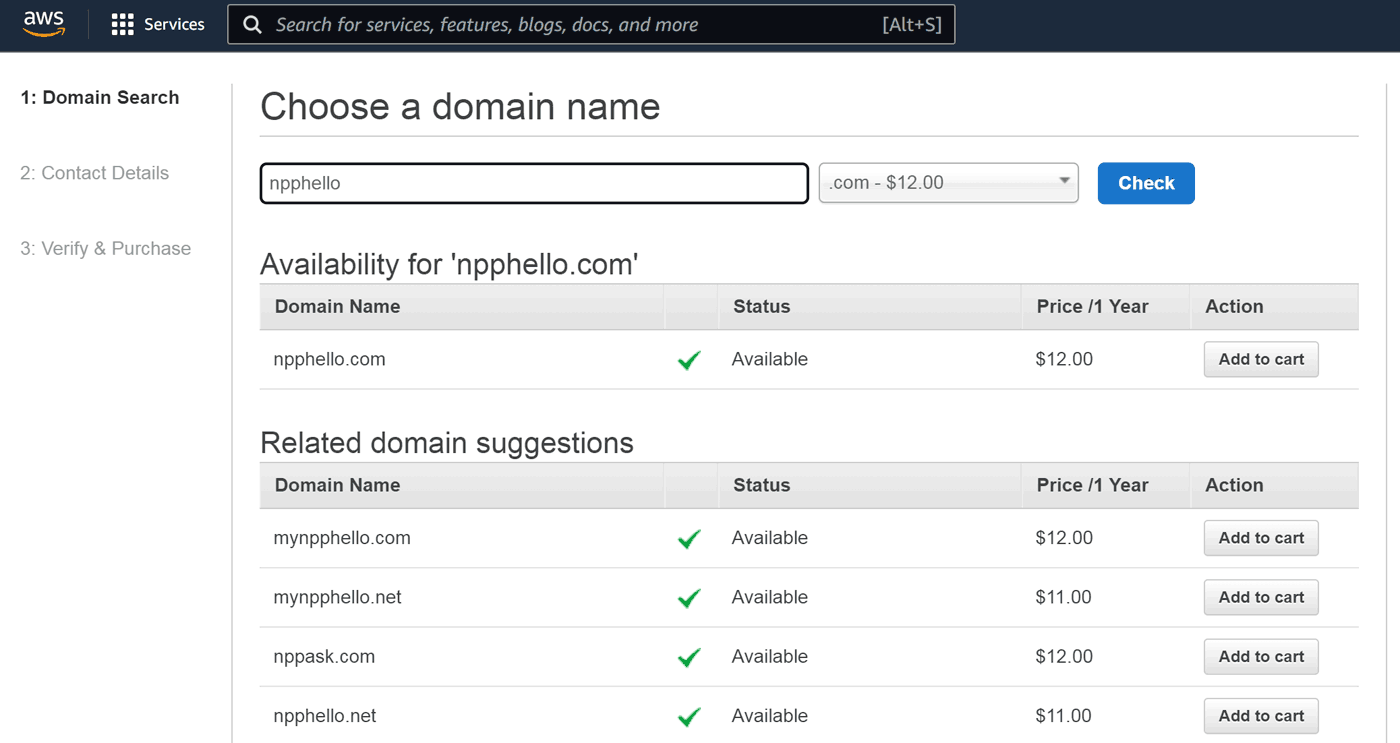
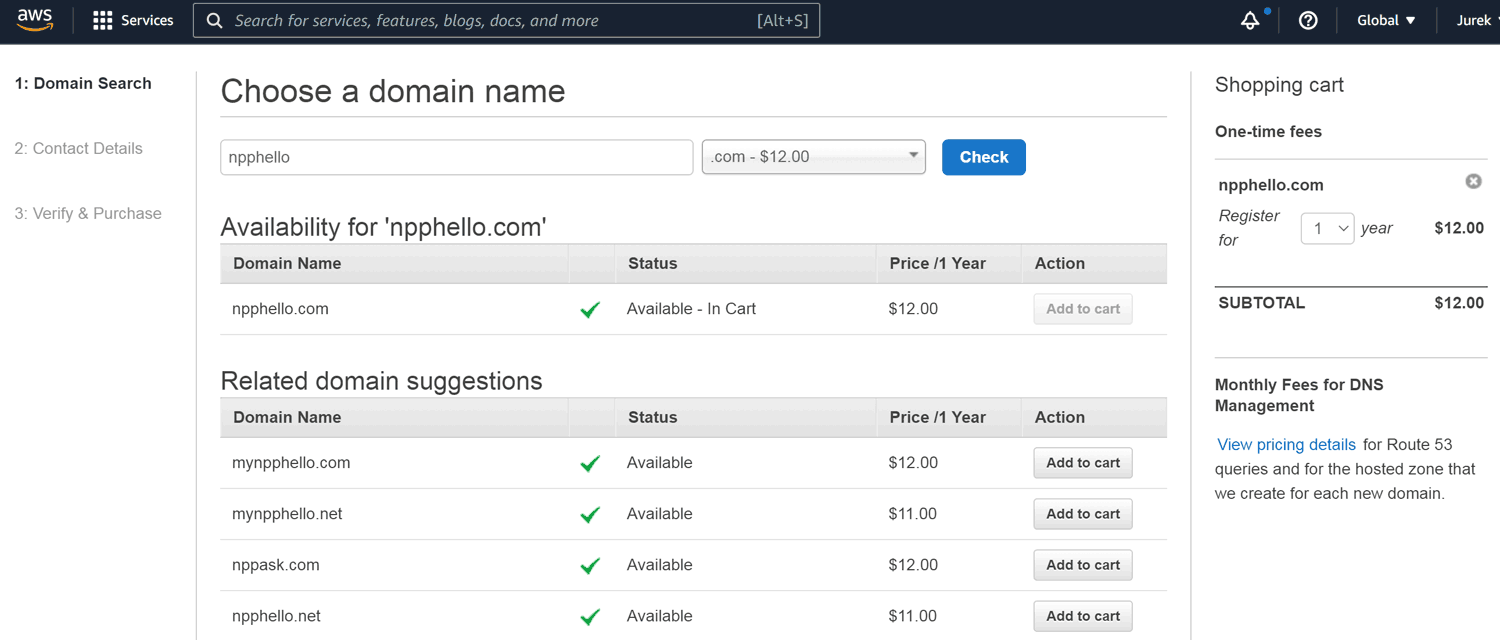
Bingo! Now we need to add it to the cart. Note that $12 price is for one year. You can later set your domain to be renewed automatically so you won't accidentally lose it (as long as your payment card works):
After clicking Continue we have to provide our contact details (required by law):
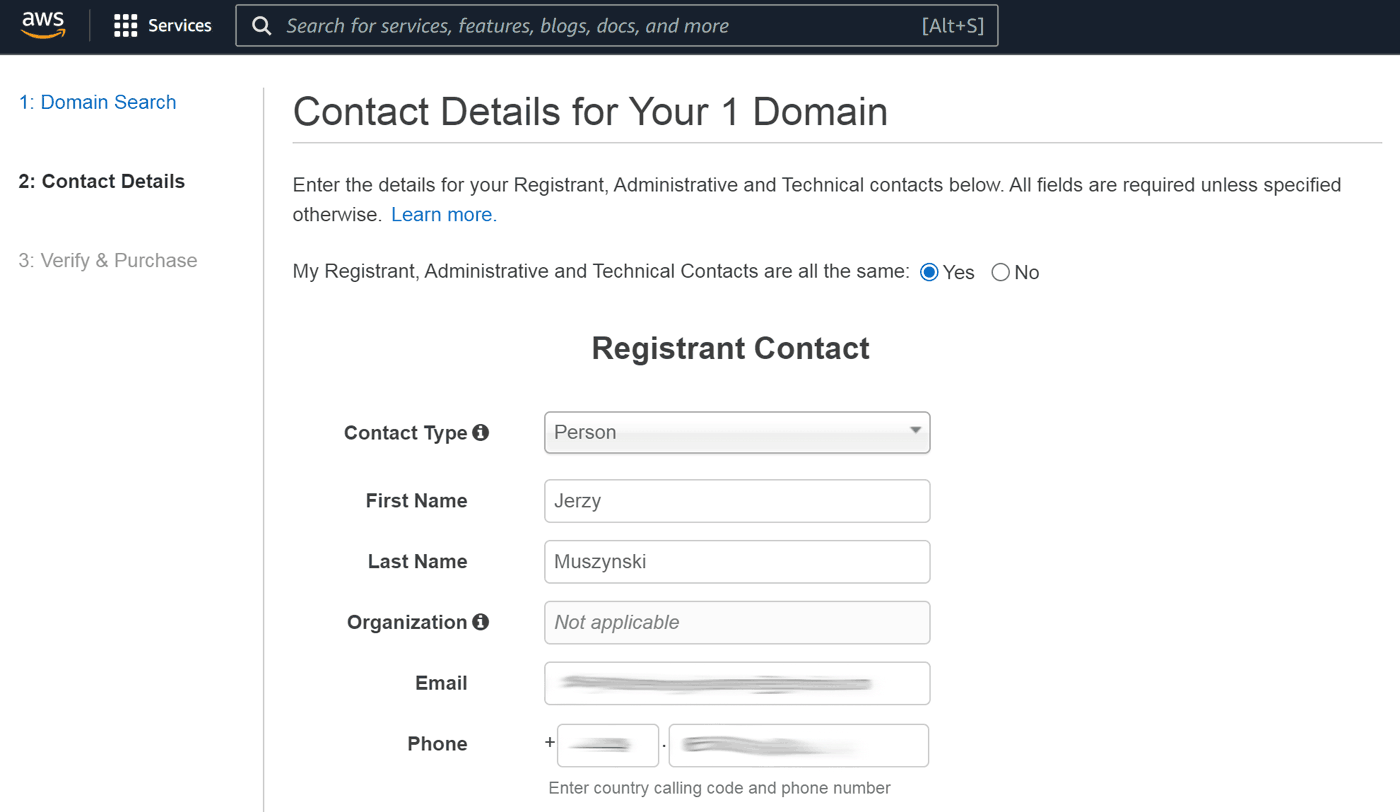
Note that if you purchase as a Person you've been offered a privacy protection. It hides your contact details from Whois public records. I always take it (it's enabled by default):
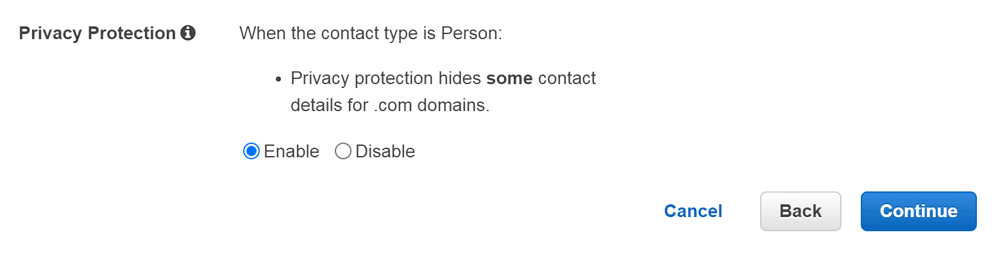
Then we need to finish the usual purchasing process.
Step 2 – DNS setup
DNS stands for Domain Name System. In short, it allows us to remember and use domain names (like mydomain.com) instead of IP addresses. Domain owner manages DNS records for the domain.
As the proud owners of the internet domain we now want to tell all the browsers in the world what IP address stands behind our domain name.
On AWS Route 53, our domain's DNS records form a Hosted Zone. Each Hosted Zone keeps DNS records for each domain:
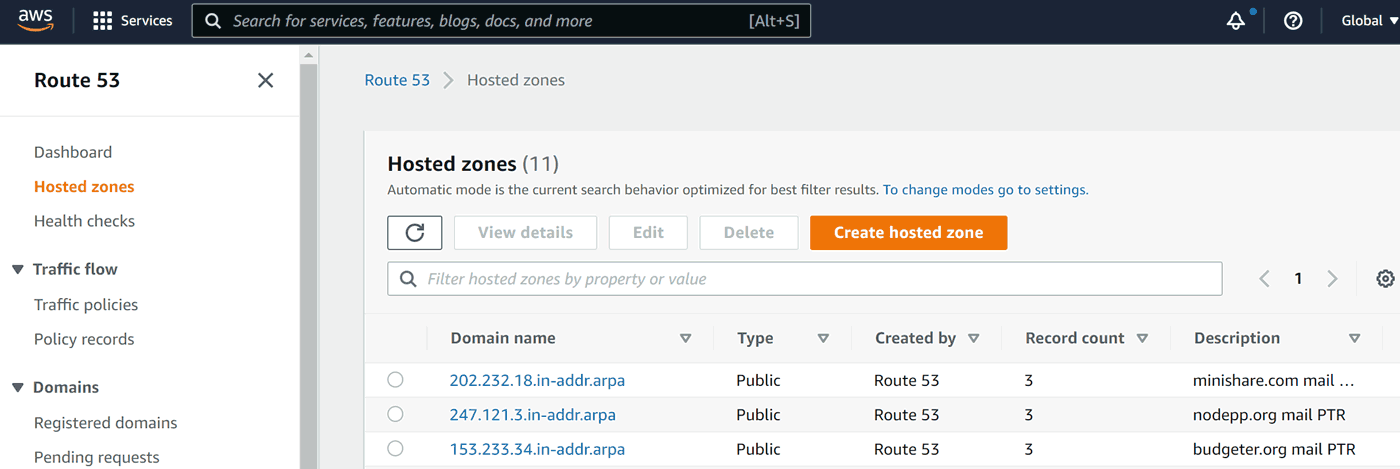
During domain registration Route 53 creates a hosted zone automatically for our domain:
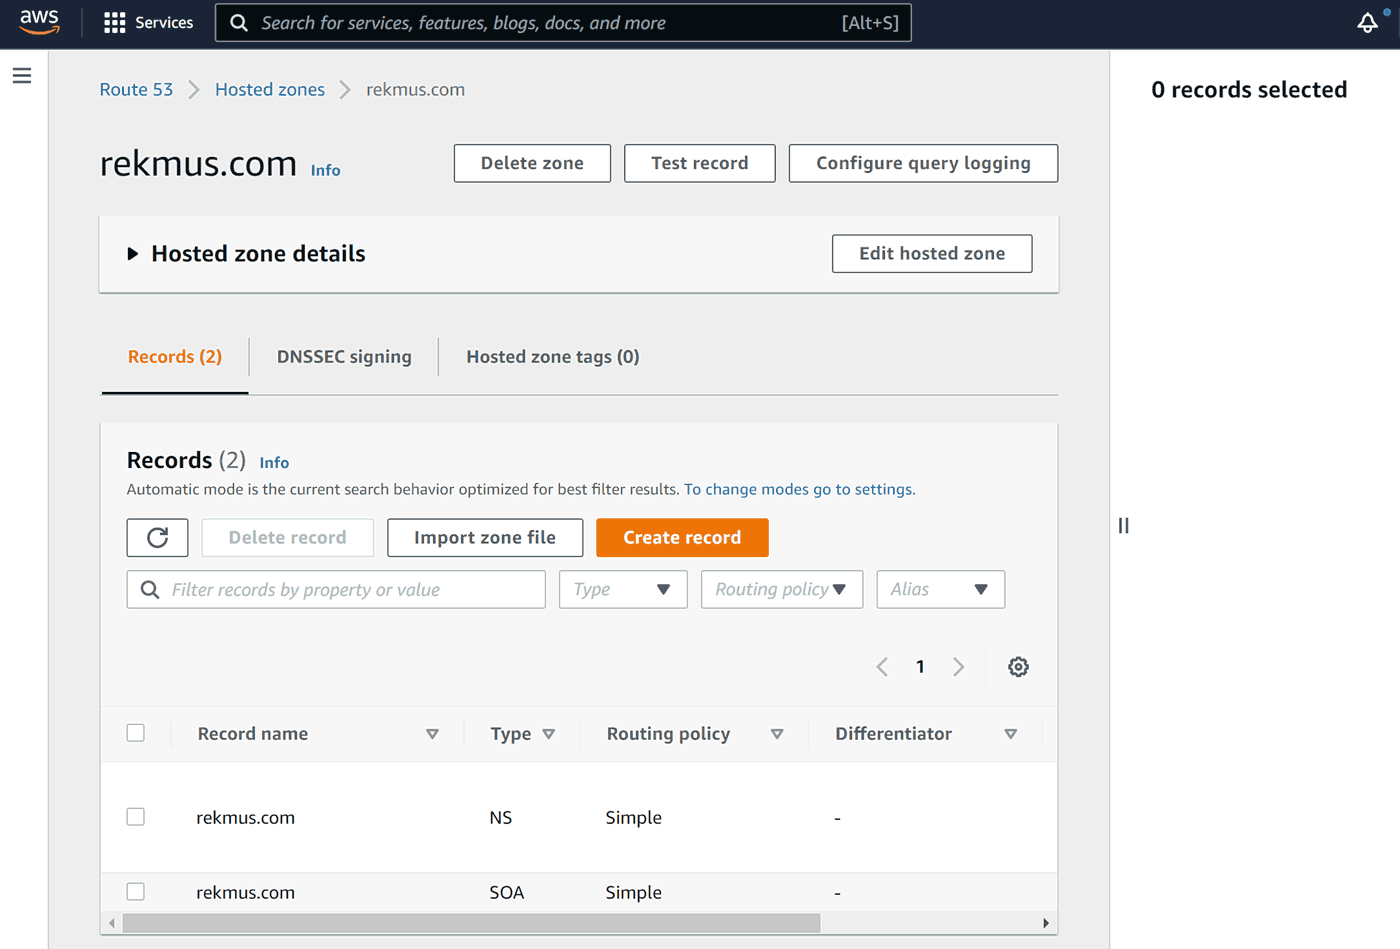
However, it only contains Name Servers' addresses and so called Start of Authority (administrative) record.
For our application we need to create an A-type DNS record. It will tell the global DNS system what IP should be used when someone looks for our domain. Click on Create record. Being the most popular, type A is already default record type. We only need to put our server's IP address as a Value:
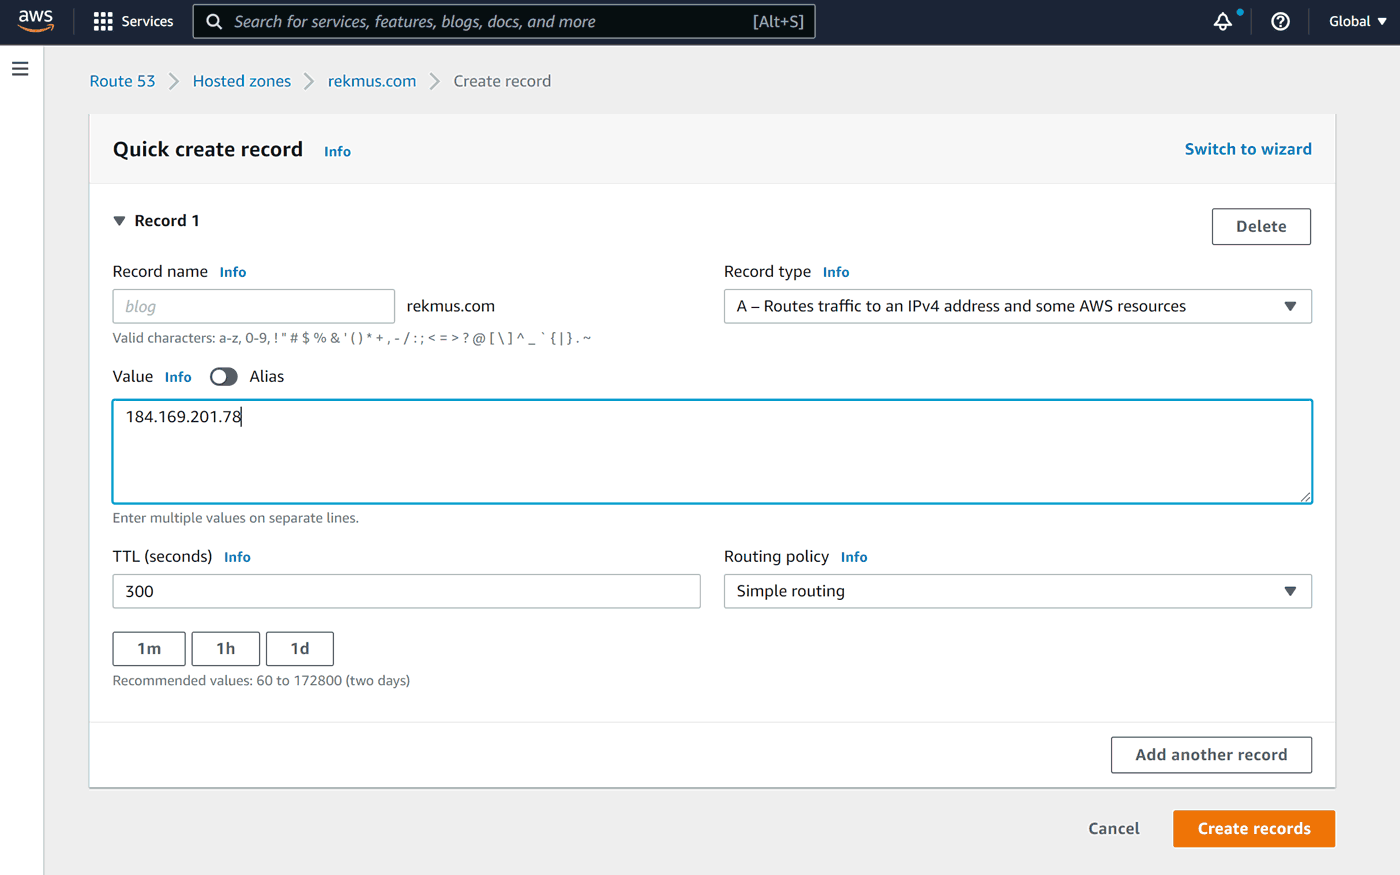
Click Create records.
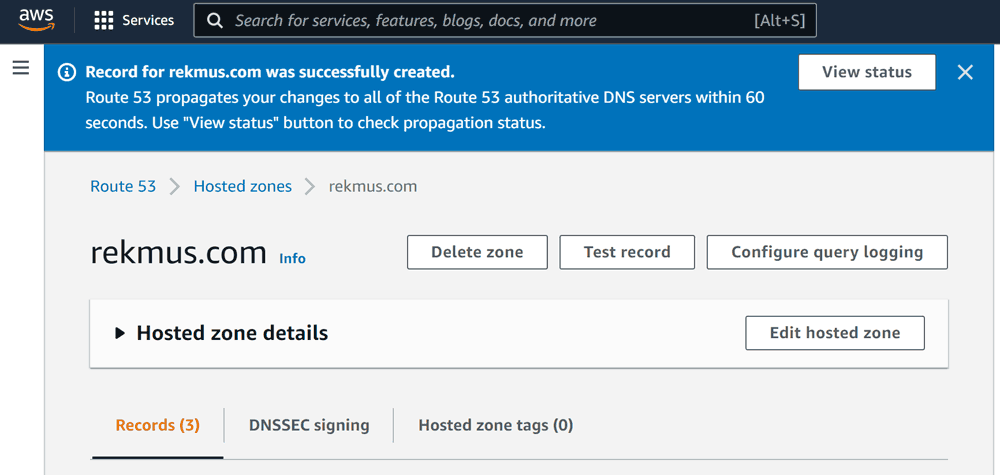
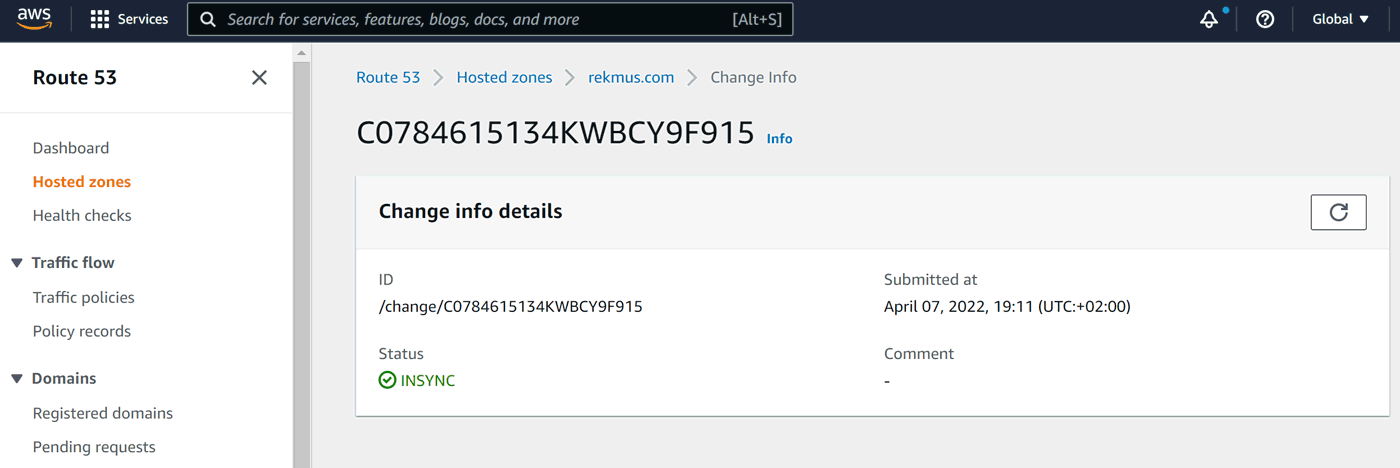
For the next couple of minutes the magic happens: your setting is distributed over the global DNS network. We can check the synchronization status with View status button:
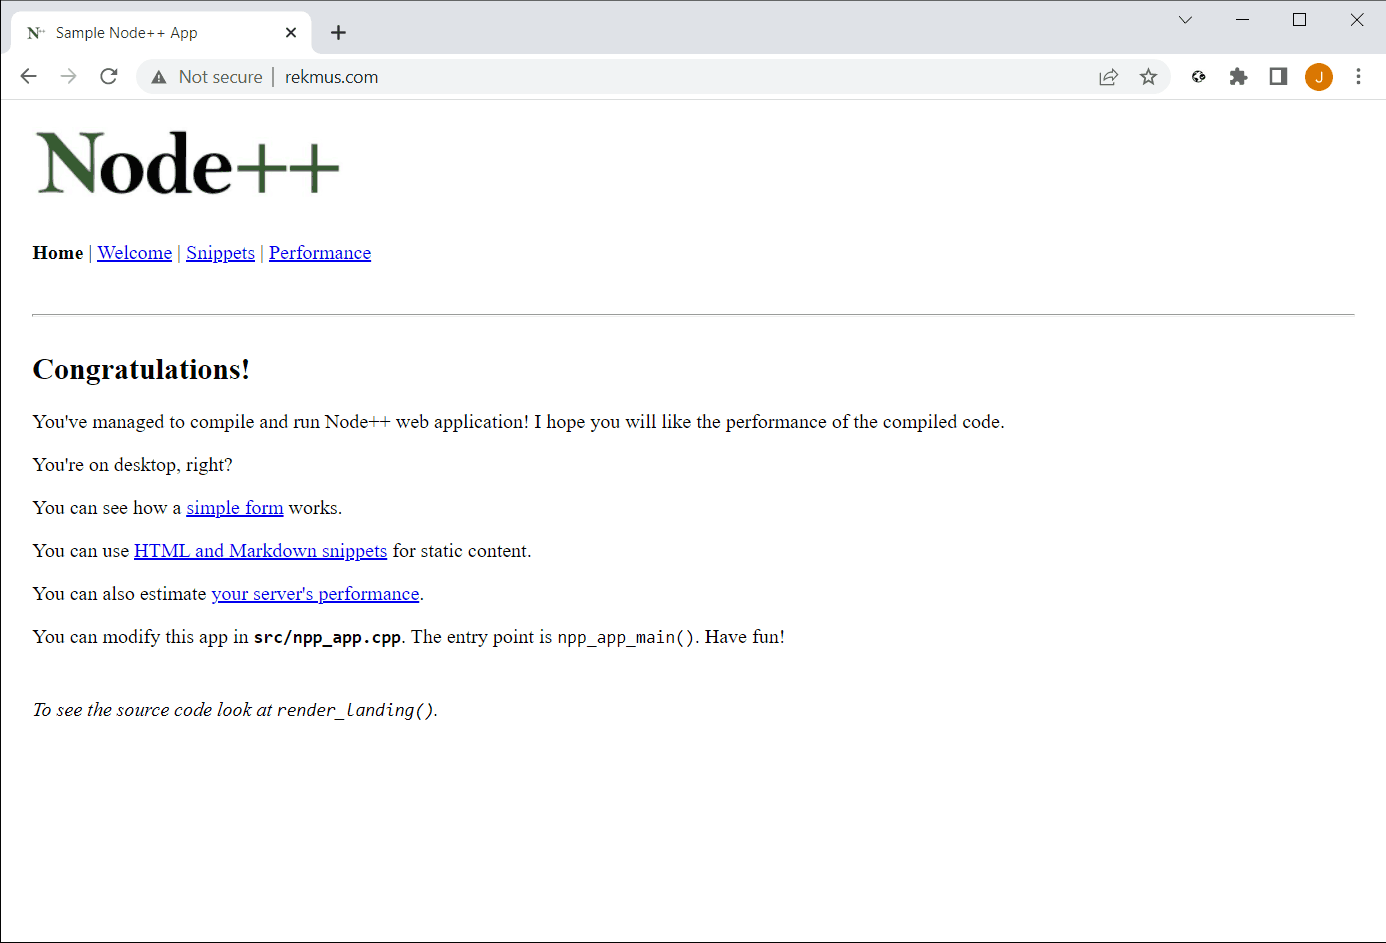
Now is the time to test. In the browser address box, type http://mydomain.com
Complete Route 53 DNS instructions are available here.
That's it for now! We have our application available for everyone at our domain name, 24/7.
Next part: Putting your web application online – Part 4 – HTTPS
Is something wrong here? Please, let us know! 