Previous part: Putting your web application online – Part 1 – Server in the cloud
| Starting point: | You have a Node++ application on your laptop and Linux server permanently connected to the internet |
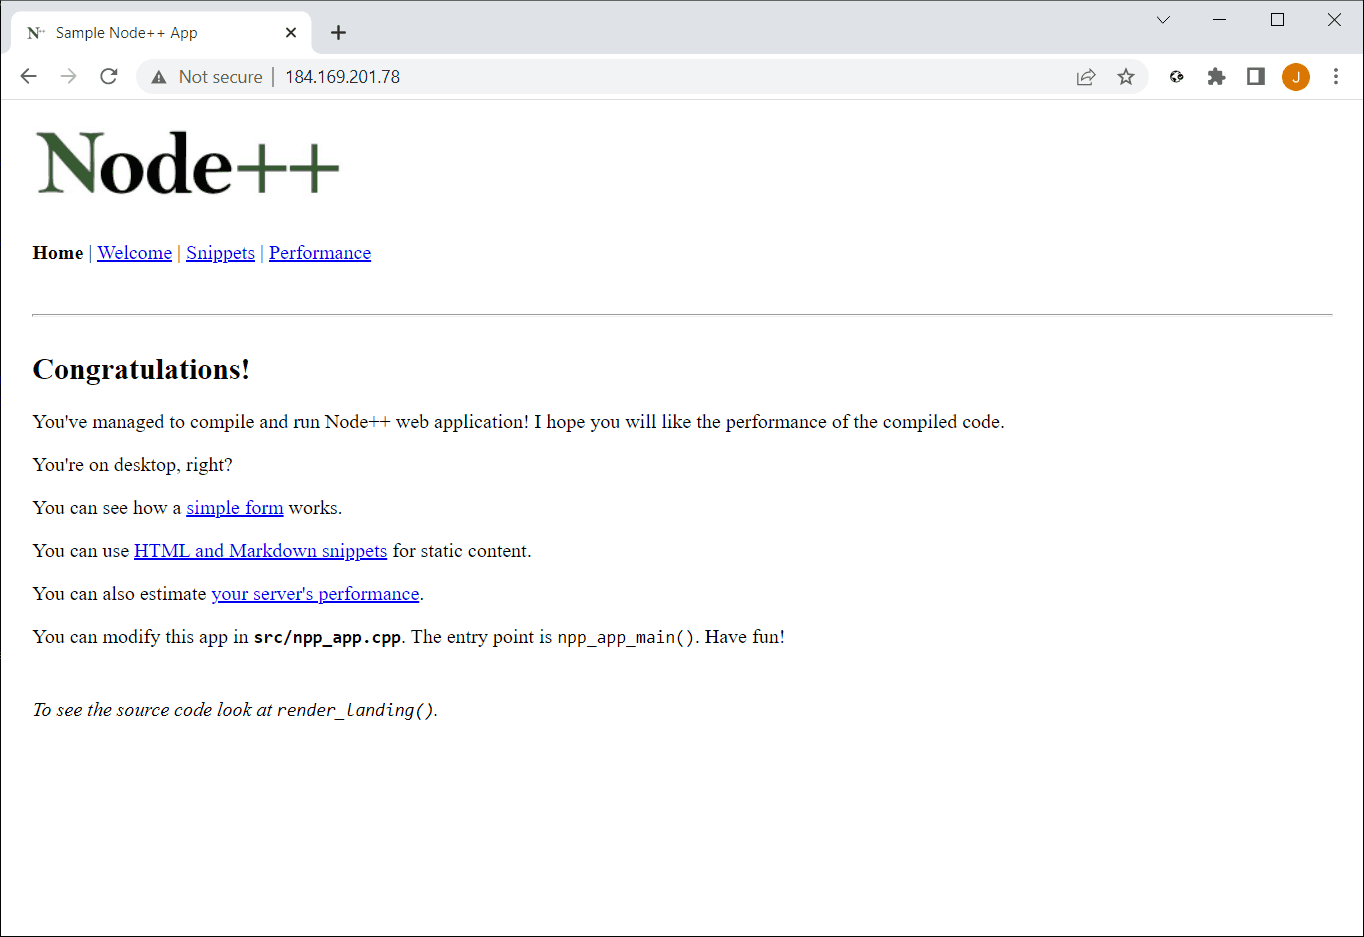
| This part result: | Everyone can access your application via http://<your server IP address> |
| Skill level: | Junior |
| Time: | About 15 minutes |
Steps to take:
- Access your server
- Install tools
- Copy your app
- Compile
- Live setup
- Troubleshooting
- Healthchecks
- Updates
During this part I refer to your home or office computer as laptop, simply to avoid bloating text with the fraze like your laptop or home or office desktop computer.
Similarly, 1.2.3.4 should be replaced with your server's IP address.
For Linux commands $ indicates default user prompt and # is a root prompt.
Step 1 – Access your server
The first thing we want is a console (shell) access. If your laptop happens to be powered by Linux or macOS, you don't have to install anything, just need to know how to ssh.
Windows 10 (and newer) users can also use plain cmd window.
On AWS EC2 instance, default user is ec2-user:
If you encounter Permissions for 'C:\\keys\\npp_hello.pem' are too open error, you'll have to revoke all the permissions to your pem file, except of full access to yourself via right click -> Properties -> Security -> Advanced.
As for older Windows: there are a couple of reliable options. If you don't have your favourite yet, I've been using PuTTY for years and it still serves me well.
Step 2 – Install tools
It's just a couple of one-liners to execute. The commands below are for EC2 instance (Fedora/RHEL family). If you use different distro, relevant commands can be found in the Cheat Sheets.
Install compiler
Install OpenSSL headers
Step 3 – Copy your app
Let's start with some organizing. As we're not planning for a new global Netflix infrastructure yet, we can easily fit development and live on the same server. I typically have two project directories: dev and live.
In this step, let's just create a dev:
~/dev will now be our development directory.
Now is the time to bring our code here. We've got three options:
- Develop on laptop, simple copy to the server
- Develop on laptop, distribute via source control system (like git)
- Develop directly on server
Depending on your choice and your laptop operating system, there are many options available. If I develop my own things, I use the first option and copy to the server with WinSCP. For the team projects we use git.
If you don't have your own project yet and prefer to start with Node++ Hello World, you could do:
Step 4 – Compile
Because in this part we don't prepare an SSL certificate yet, make sure that src/npp_app.h does not have NPP_HTTPS defined. If it does, for this part comment it. We'll cover this in the next part.
Step 5 – Live setup
Even in our small startup setup we want to separate development and live directories for several reasons. The simplest one is, we may not be allowed to overwrite executables while they are running. And we obviously want them running 24/7. The second reason is that we want some space as an error margin if something goes wrong. Keeping separate development allows us also to keep different configuration, connect to a different (test) database, etc.
Lets' create live directory:
Now we can copy the runtime part of the project. This includes the following directories:
binres(optional) resmin(optional) snippets(optional) logs(initially empty)
For the first time, we could do this manually, like this:
But for the next deployments I use the following script in ~/live/bin:
I call it copyfromdev. The name actually matters, because it reminds me where I should be when deploying new version (more on this later).
If we copied our stuff from Windows or cloned git repository, we'll have to set the executable flags for the scripts in bin (this first time only):
The next stop before the launch is to check the configuration. Edit ~/live/bin/npp.conf (I use the old good vi):
As this is not a drill, we want to set the port numbers to their proper values:
In order to bind sockets to ports below 1024 we need to be root:
We should add $NPP_DIR to the environment to make clear where Node++ programs and scripts should look for the files. Let's edit root's profile:
(On different systems the profile file may have a different name, like .profile, .bashrc, etc.)
Let's add:
And add it to $PATH:
Let's update the current terminal session:
At this point we are ready to fire! Let's do this:
In the browser address box, type http://<your server IP address>
Step 6 – Troubleshooting
If you don't see your application in the browser or it behaves not as expected, the first thing to look into is the logs directory. There are at least two opitions: directory is empty or it contains a log file:
If it's empty, your $NPP_DIR might not be set. Try:
If case of empty response, look again at your system documentation to make sure which file is responsible for user's environment. On AWS EC2 Linux 2 AMI it's ~/.bash_profile. In there you should have NPP_DIR environment variable exported and added to PATH (see previous step). Note that this file is only read during login so your current terminal session needs refreshing (. ~/.bash_profile) or restarting.
If you see a log file in logs, look inside (you can use tools like cat, less, more, view, grep, tail, etc). Log files is the primary diagnostic tool. Scan them for ERROR. There are many possible scenarios but the log file should always give you a fairly clear message what's going on.
For the first couple of days I recommend to increase logLevel in npp.conf to 4. This way you will see the complete requests coming in and response headers going out:
To me it was (and still is) by far the most importatnt learning tool. It not only shows the current trends but also the most common threats. Within hours you'll see scanners attempting to break in. Reading those logs allowed me to be aware of the whole threat classes. This is one of the reasons I avoid plug-in model for Node++. In these days you just can't be secure enough.
Malicious request example:
Log files are created daily, every midnight GMT.
Step 7 – Healthchecks
Things may go well but crashes happen or unexpected server restart can happen. We may be on holidays and not checking our application for days.
Luckily for us, modern operating systems have some kind of task scheduler. In case of Linux this is cron. We set cron tasks using crontab with option e, like edit. Cron tasks are set per user so we need still be root to set tasks for our live environment:
(Weirdly enough Amazon Linux 2023 comes without cron, so you need to install it with yum install cronie)
You can paste something like this:
This way every hour npp_watcher will make a request. If it won't be able to connect for 60 seconds, it will restart the application.
Step 8 – Updates
Having our application online, we can switch back to developing. Let's suppose we have made some changes, tested them and now we want them to go live. Bearing in mind that we should avoid full hour (or whatever we set in the healthcheck step), here we go (as root):
It typically takes about 1 second for each command. To speed things up even more, it can be one shell script, let's call it updatefromdev and save it in ~/live/bin.
That's it for now! We have our application available for everyone at the IP address, 24/7.
Next part: Putting your web application online – Part 3 – Domain
Is something wrong here? Please, let us know! 