
| Starting point: | You have a computer with internet access and a valid payment card |
| This part result: | You have a Linux server with root access in the cloud, accessible through permanent IPv4 address |
| Skill level: | Junior |
| Time: | About 15 minutes |
Steps to take:
- Create cloud account
- Pick data center location
- Start an instance
- Get permanent, public IP address
- Set security rules
I use Amazon Web Services, however you can use any other cloud provider, like Azure, Rackspace, etc. I recommend AWS because I've been their happy customer since 2015. I have no affiliation (yet) and everything I write here is based on my personal experience and opinion.
This is not a theoretical excercise. I've done this many times before and the choices I recommend have proven to work well for me for 7 years now.
I try to show every screen on the way which makes this page seem long. In reality though each step should take no more than 5 minutes, even if you sip coffee before each paragraph.
Step 1 – Create cloud account
I may be stating the obvious but you do need an account and most of the following steps involve cloud services.
As I mentioned before, I'll use my favourite, and definitely one of the very top ones, Amazon Web Services, in short: AWS.
If you don't have an account there yet, the good news is that you'll have 12 months free for your instance!
I'm not sure today but in 2015 I had to provide my payment card details in order to proceed. As promised, I haven't paid a penny for my t2.micro instance for the first 12 months.
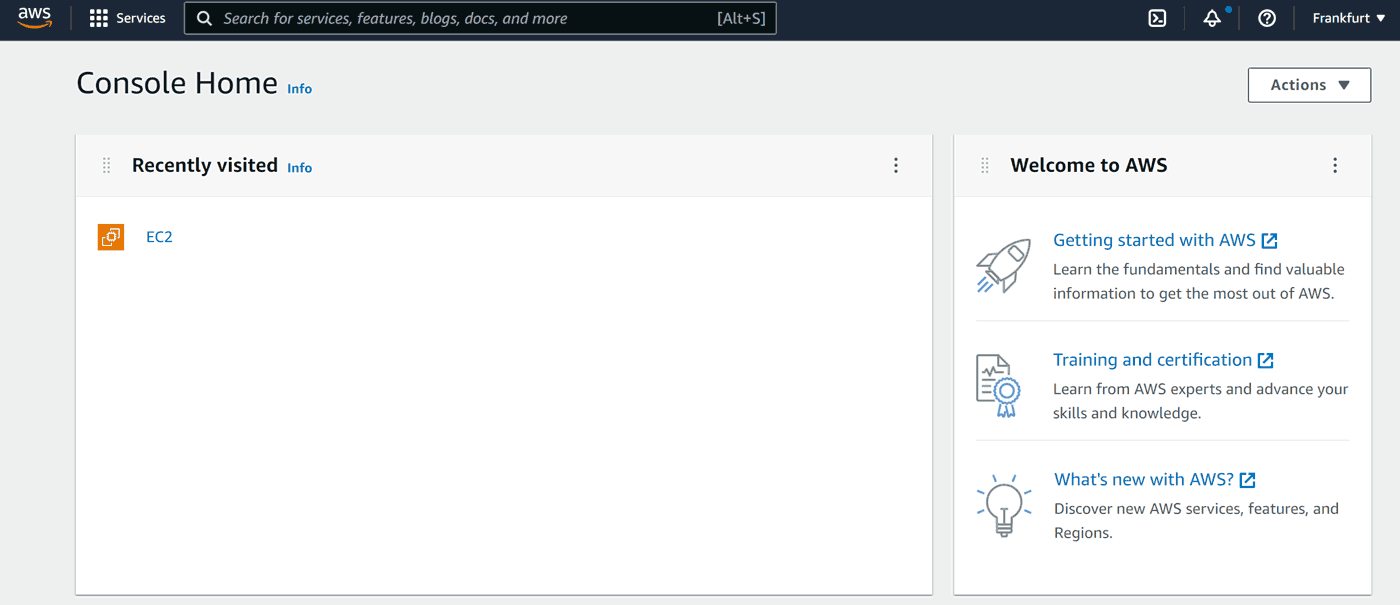
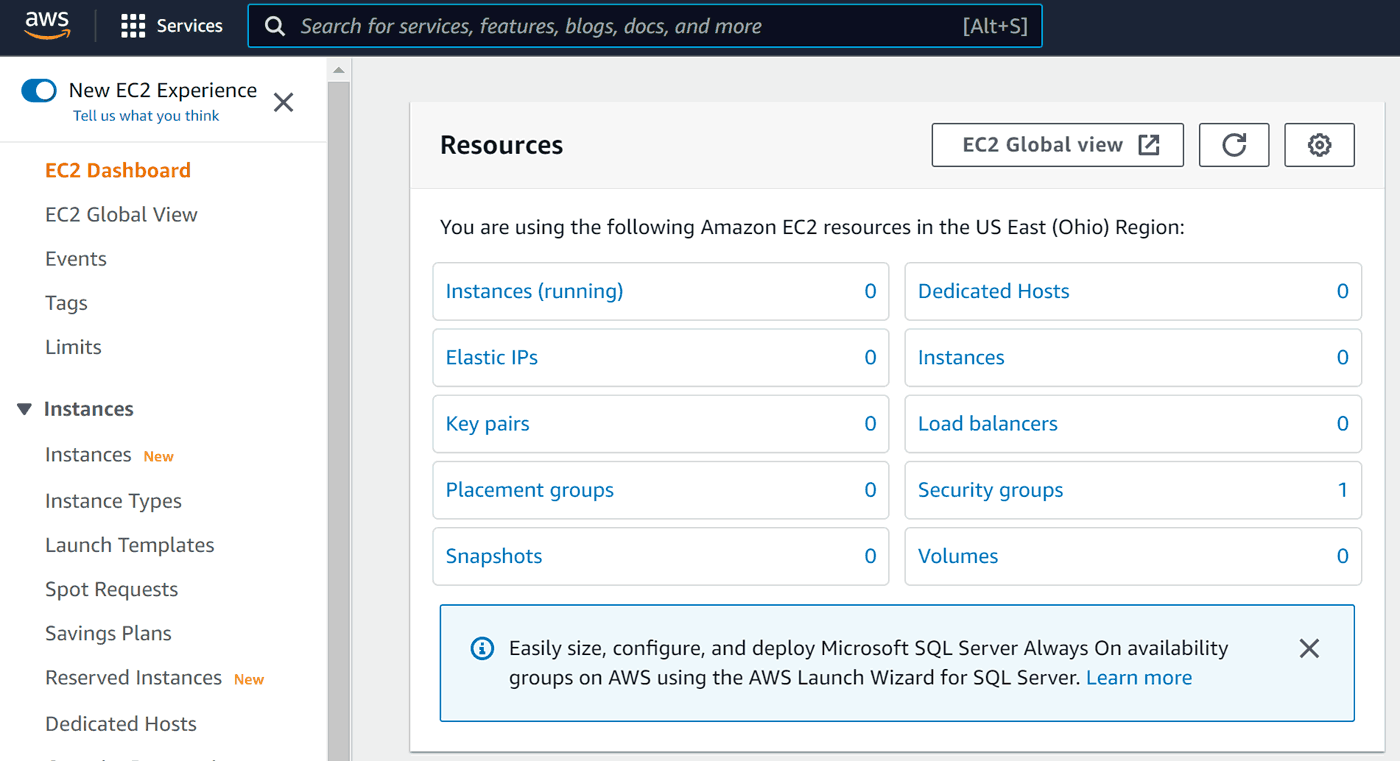
After logging in to AWS Console, we get a dashboard:
Step 2 – Pick data center location
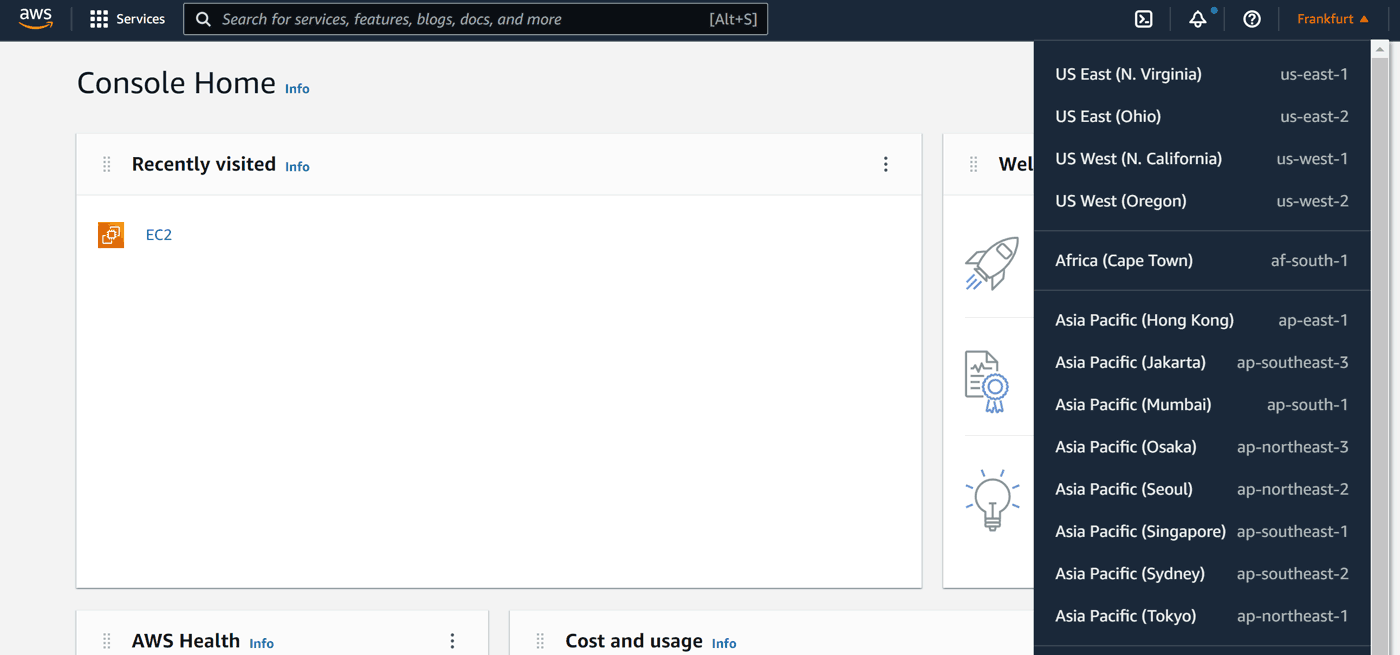
The first thing we want to do is to choose the data center location. In Amazon terms they are called regions. As I am writing this in 2022, Amazon has over 20 data centers worldwide. We can choose the closest to our target audience to minimize latency. For example, since most of my customers are in Europe, I often use Frankfurt (eu-central-1).
Pick yours at the top right corner:
Step 3 – Start an instance
This is the core task of this whole part. Luckily for us, it's entirely automated.
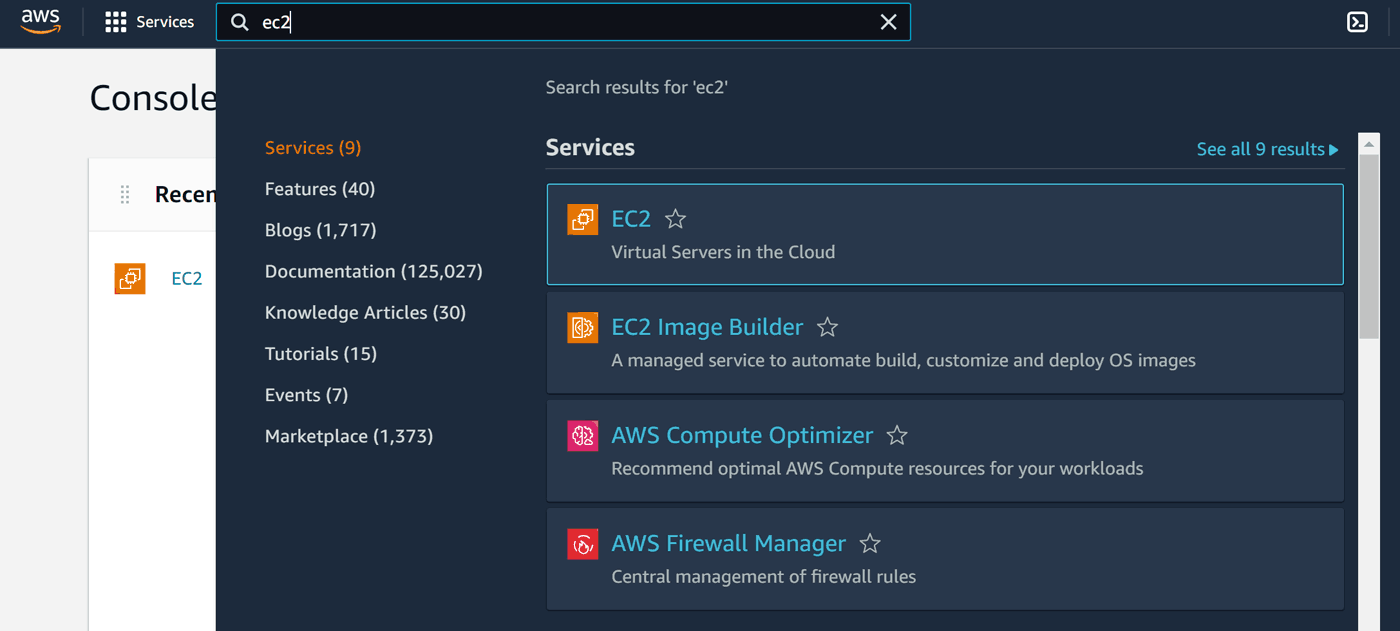
At the top of the page we have a search box, where we can type the service name we're after. In our case it is EC2, which stands for Elastic Compute, and is basically a virtual computer in one of Amazon's server rooms:
This part is shown separately per data center so it will show 0 instances, even if you already have some running in different location. So don't panic if you'll see zeros in the future, just check your location in the top right corner.
After clicking Instances we'll get a chance to start a new one:
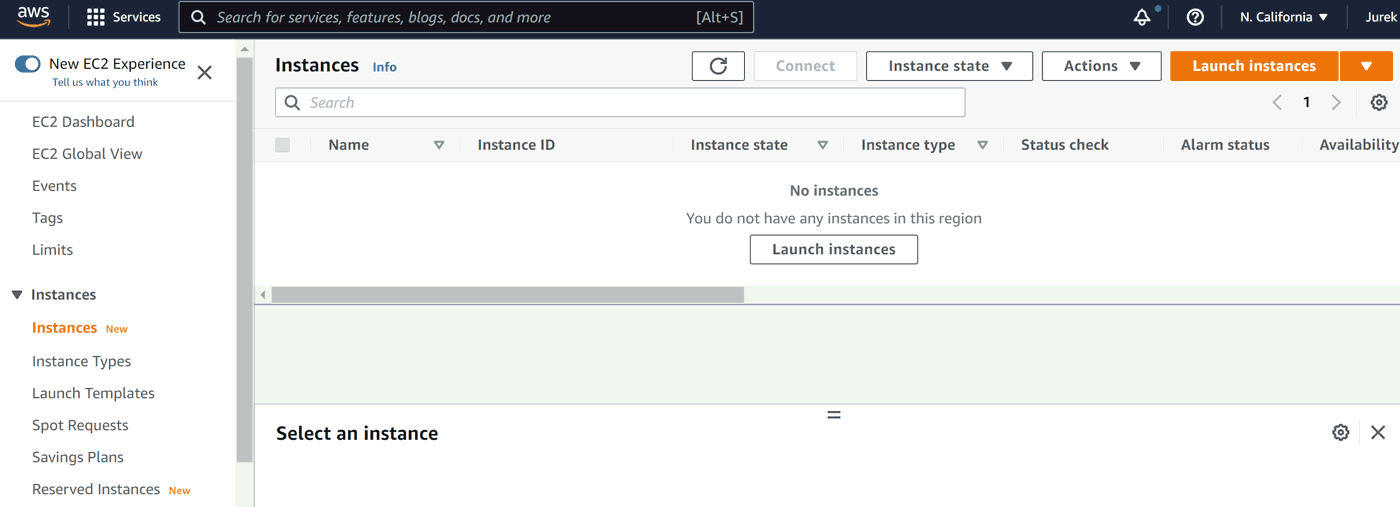
Click Launch instances.
Now we have to decide the instance image. What is that? It's basically an operating system variant compiled for Amazon hardware and possibly with some basic tools already installed. Unless you see your favourite on the list, I suggest picking the first Linux:
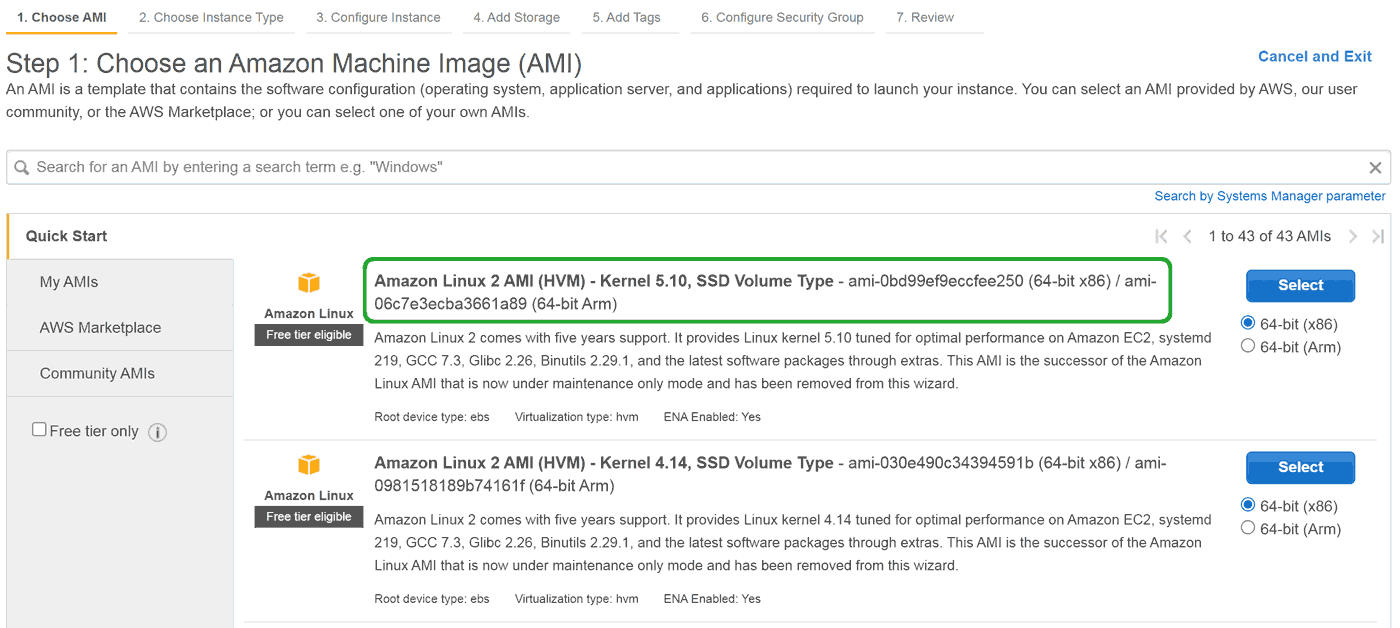
Click Select. What we now see is an impressive list of EC2 instance types:
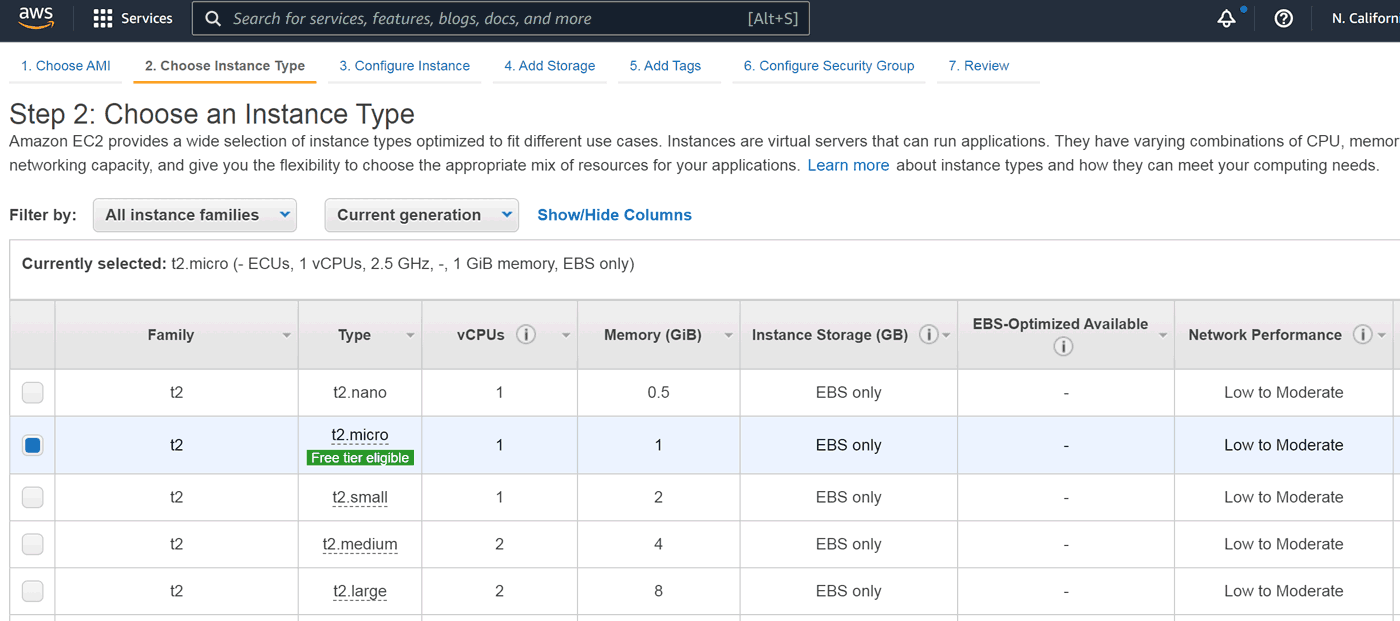
At this point we're interested in general purpose T2 family. They are well tuned and reasonably priced with added benefit of 12-month free period for some of them. They are nicely marked as Free tier eligible, which suits us just fine! The default t2.micro is the one for us and we can just click Review and Launch.
The final review screen showing our instance image and type, before we click Launch:

By default password login on AWS Linux instance is disabled. Instead, we should use a key. Now is the chance to download it – this will be the only way to get there:
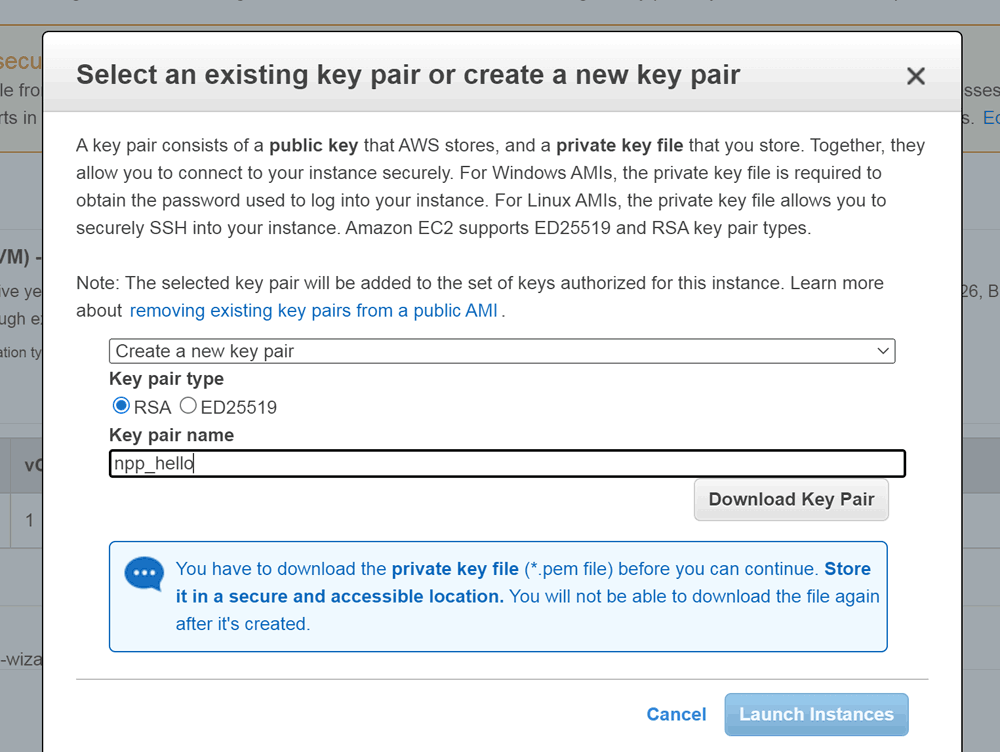
RSA is (still) good, we now need to download the keys and we're good to go with launch:
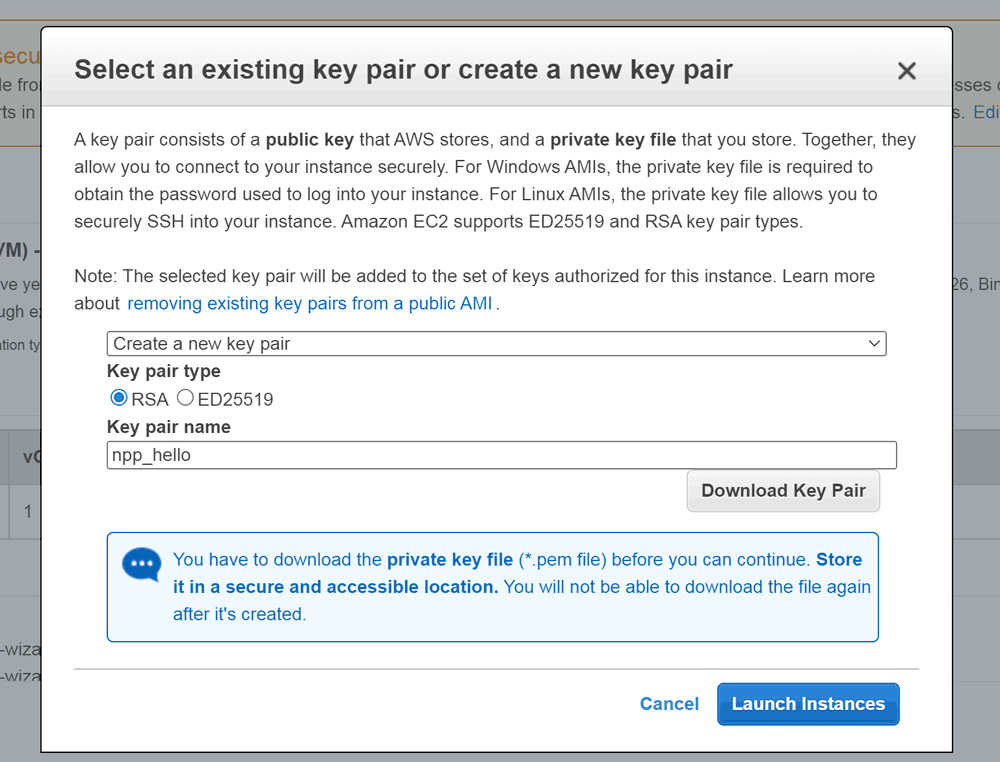
While it is launching, we have some time to read:

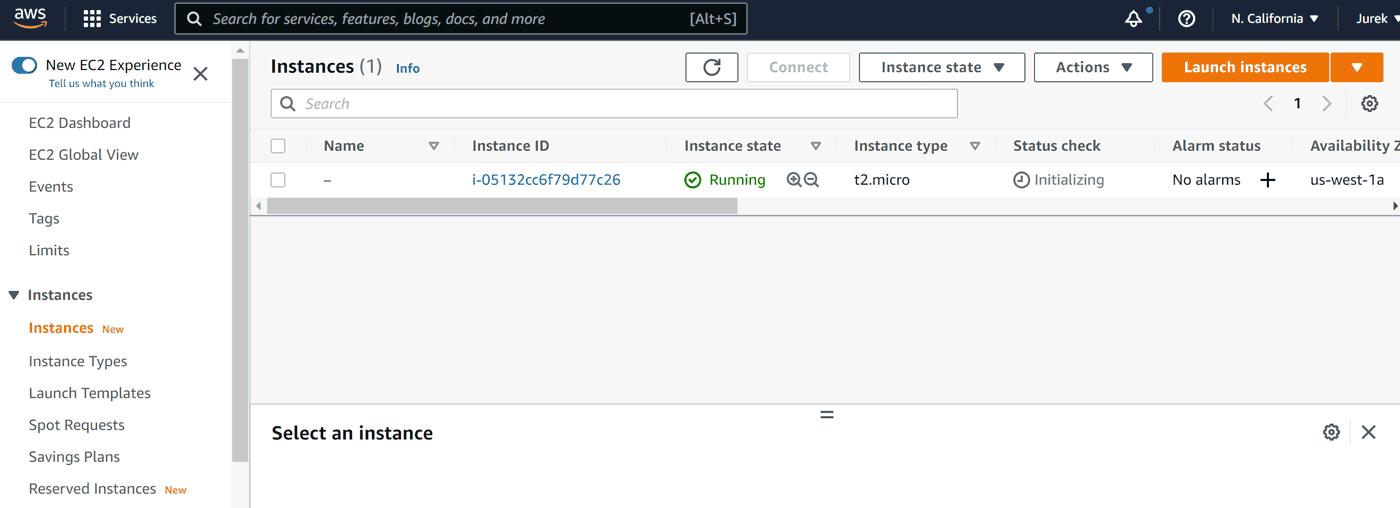
It shouldn't take more then a minute or so, and we can click View Instances to return the the familiar screen:
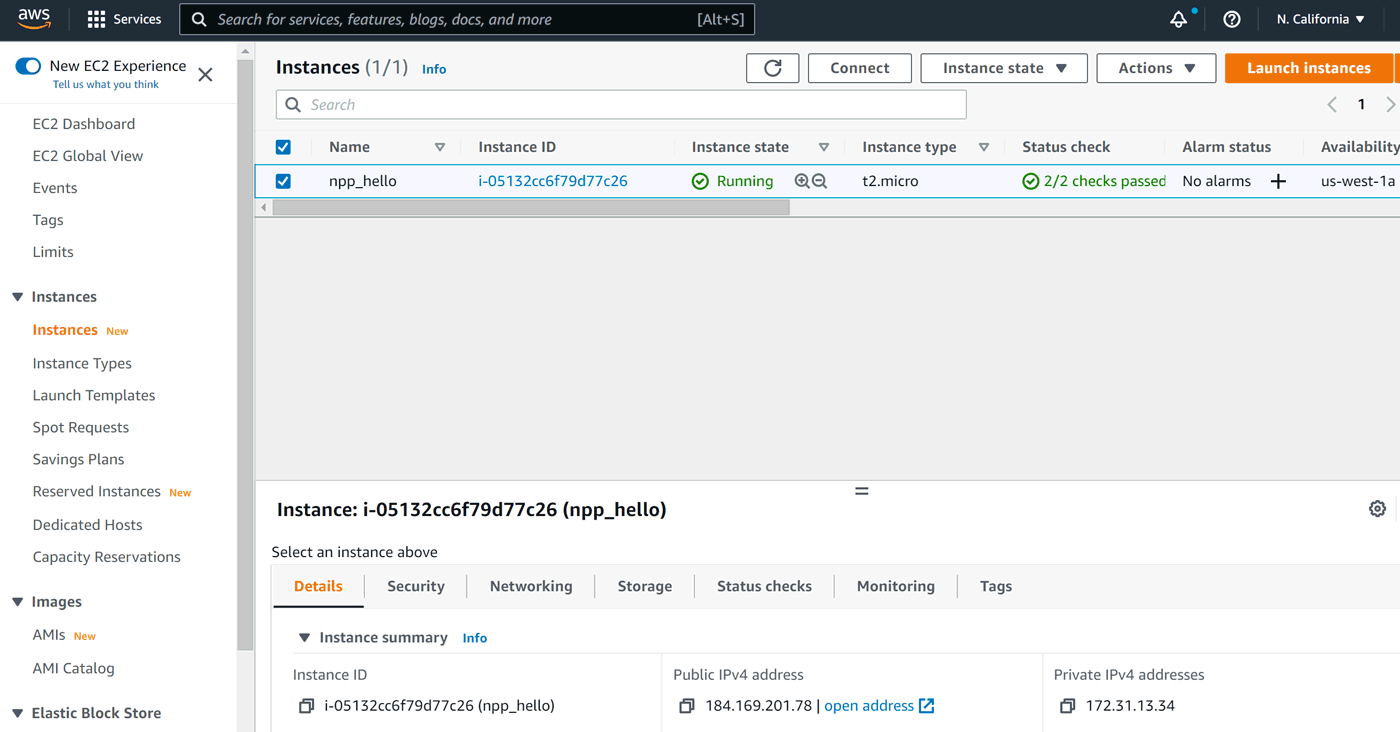
We can name our instance:
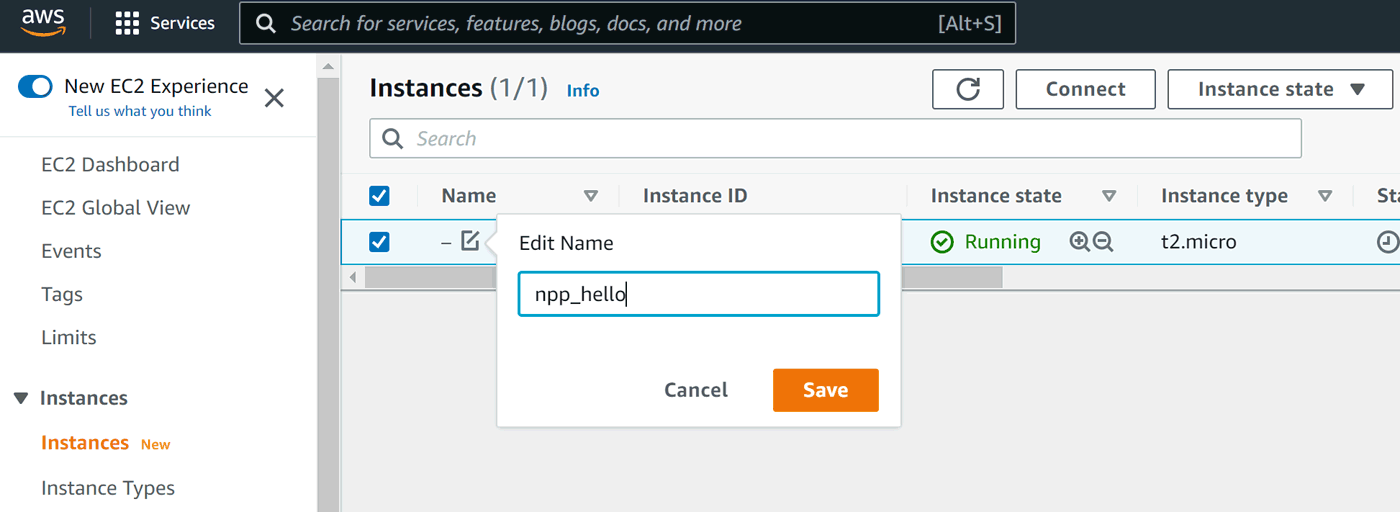
Voilà! Our instance is up and running!

Step 4 – Get permanent, public IP address
Our instance already has an IP address that we could use. But I suggest taking one of (free) Elastic IPs. What is it? It's an IP address that is not tied to your instance. The time will come when you'll have to move once your instance becomes too small or (God forbid) corrupted. A well looked-after IPv4 address is like a friend: hard to come by, takes a lot of time to proof it. Spammers have made every respectable mail server to be extremely suspicious. It'll take some time and effort before messages from your address stop arriving into spam folders (I'll cover this topic in a separate tutorial). Take my word for it: take an Elastic IP and look after it. Note that Elastic IPs are free only if used, that is, if they are associated with an instance.
Elastic IPs section is available via the left-hand side menu:
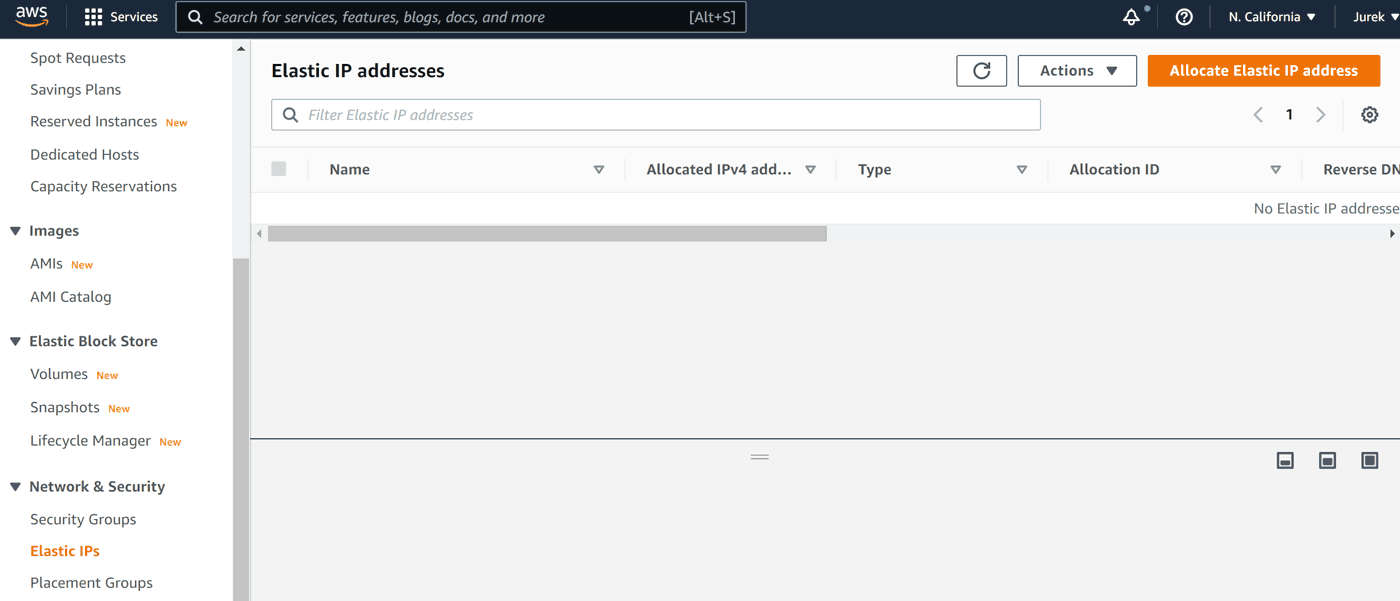
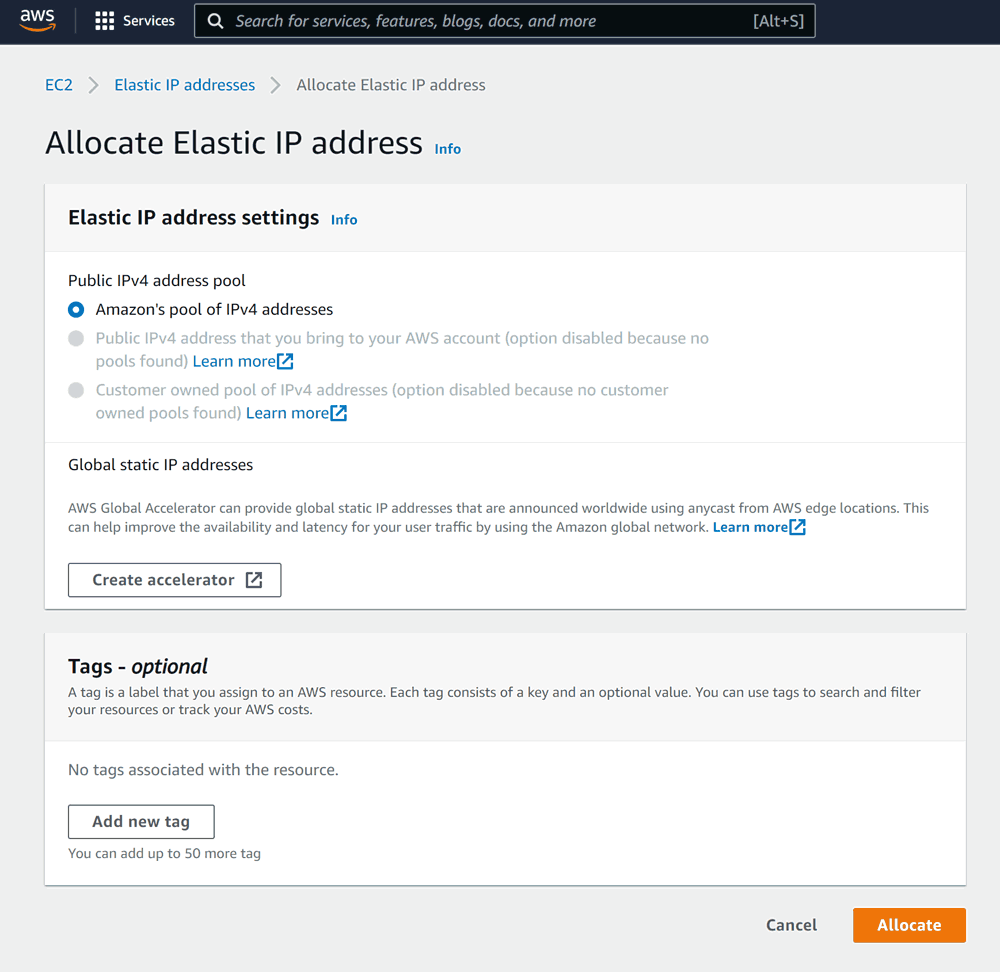
Click Allocate Elastic IP address. There's not much to do here for us, except of clicking Allocate:
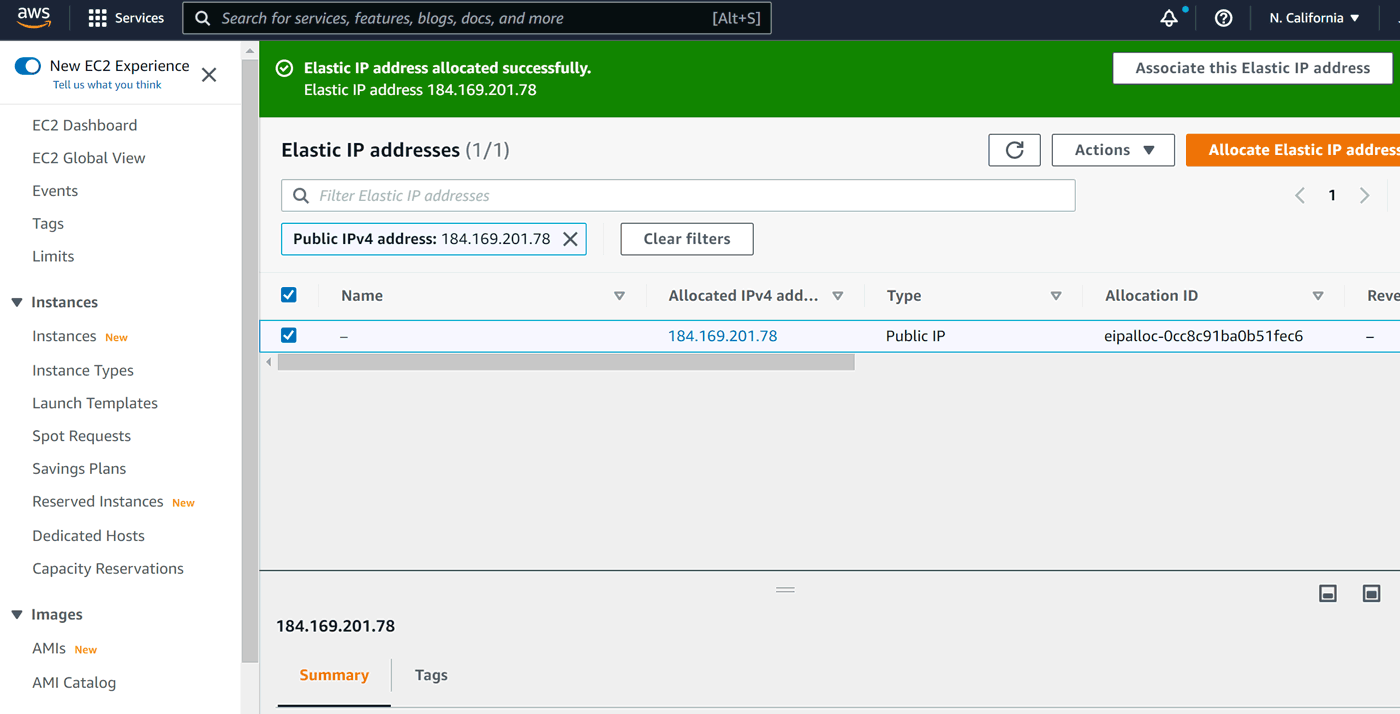
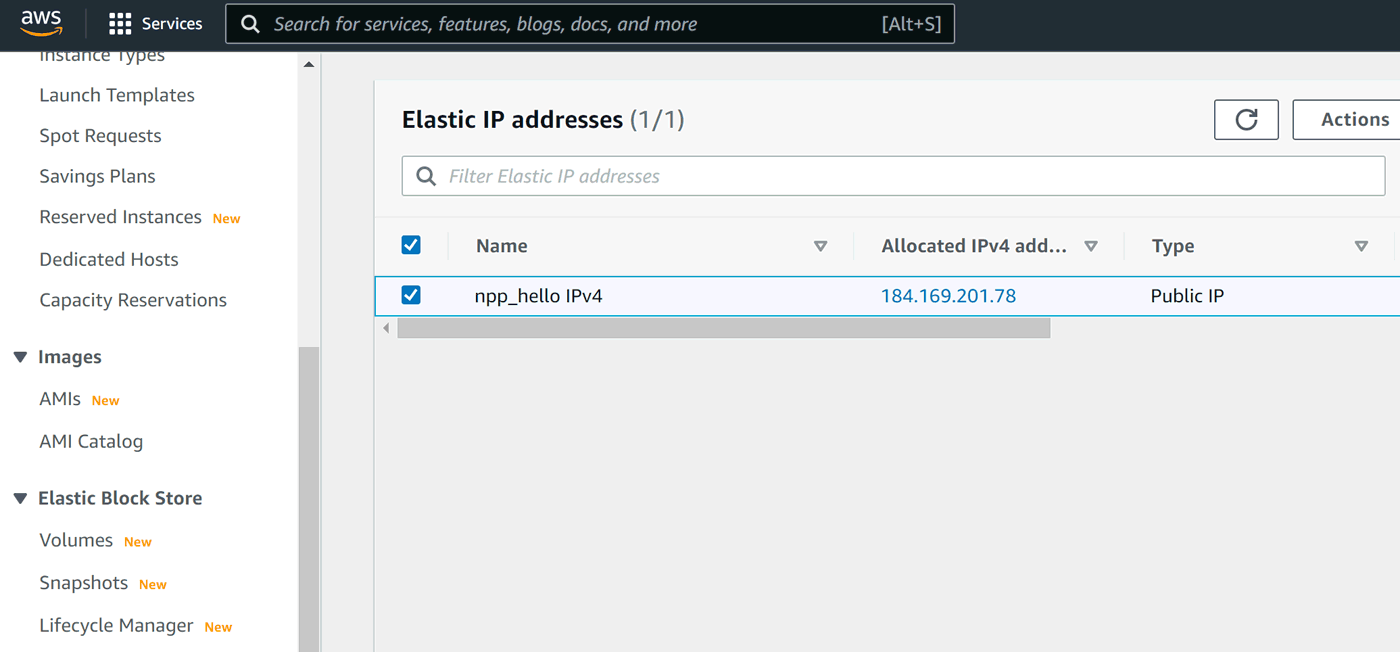
If all goes well, we should see our new address on the list:
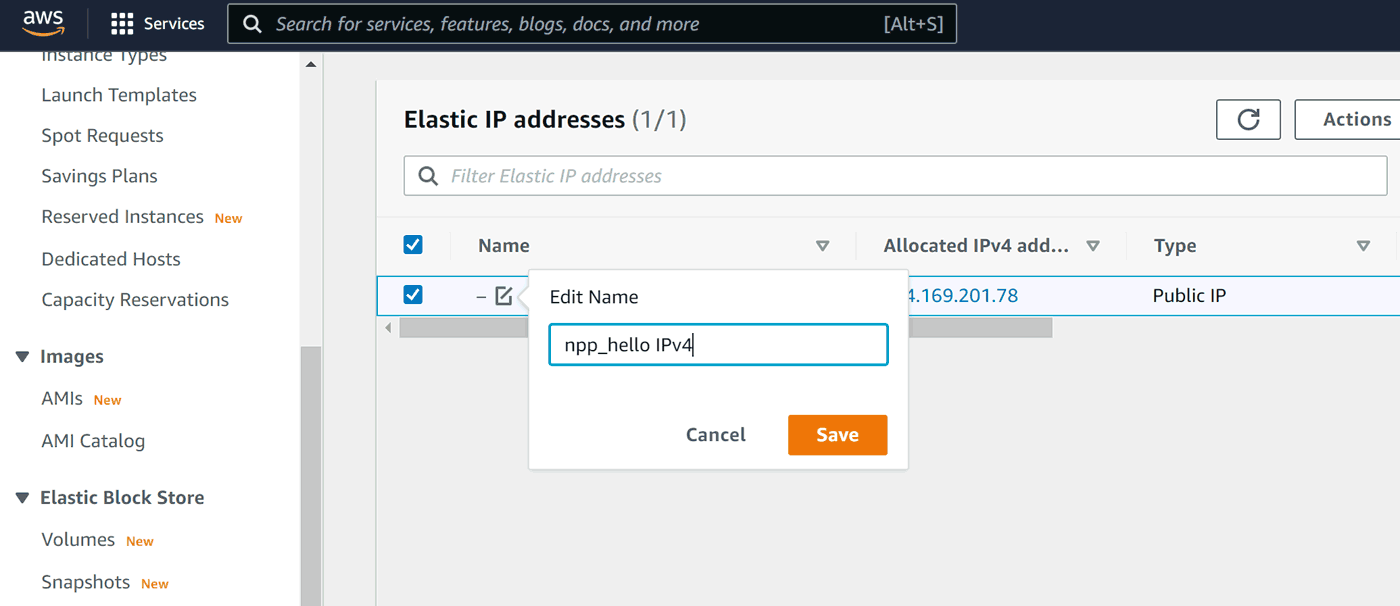
As usual, I recommend to name the new artifact accordingly:
So our list now looks like this:
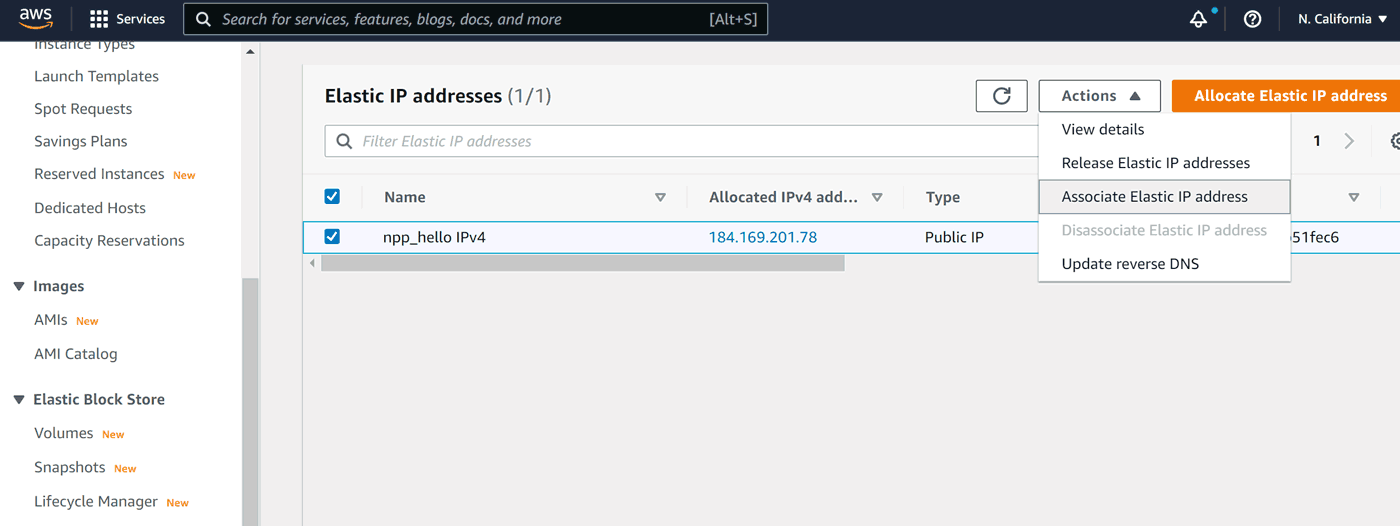
To associate the address with our instance we need to go to Actions, then Associate Elastic IP address:
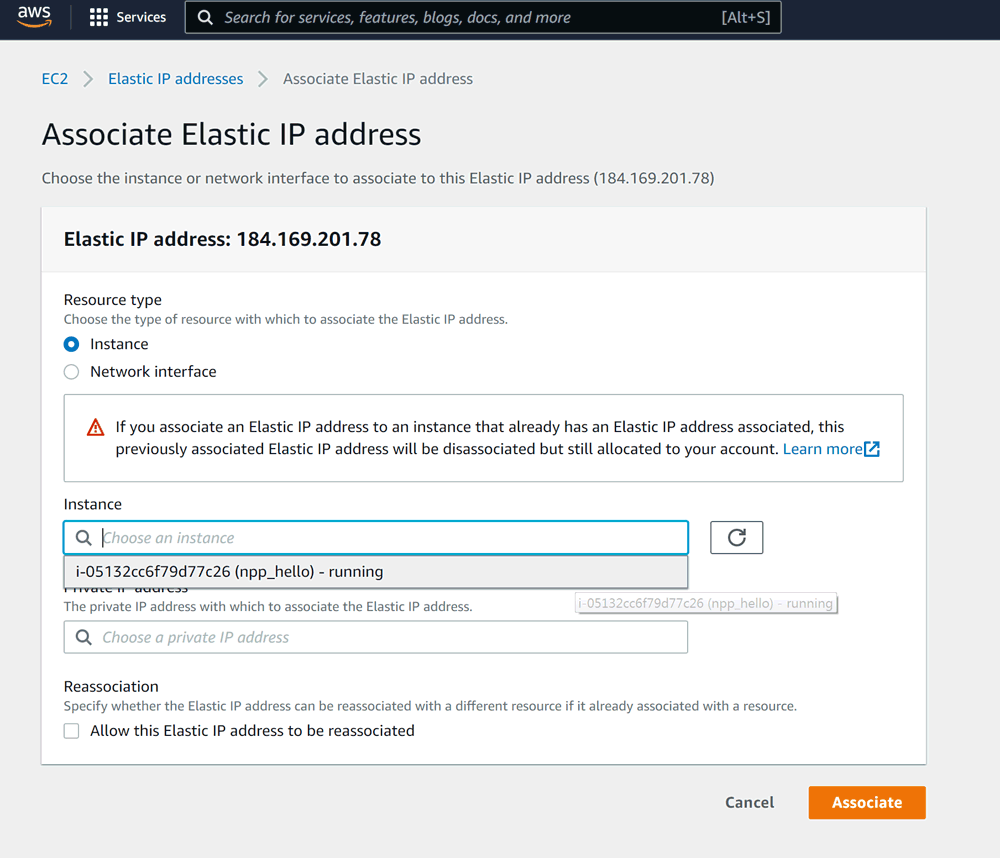
On the next screen we need to choose our instance (see how naming things makes sense now?). We leave private IP empty, then click Associate:
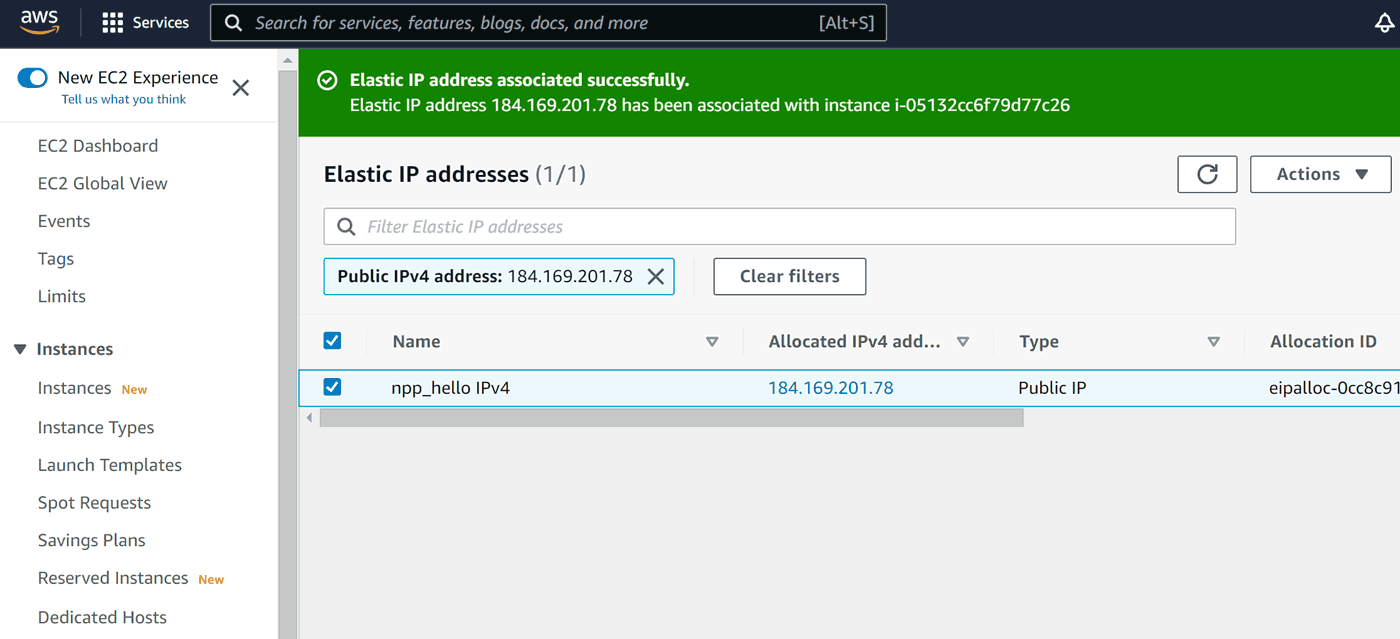
At this point our instance is accessible via permanent (as long as we remain within the AWS region) IPv4:
Step 5 – Set security rules
Security settings in AWS are organized into security groups (look at the left-hand side menu again). Before we started our first instance in an AWS region, there had already been one security group there, called default. It allows unrestricted traffic, however it's not assigned to any instance. Our new instance initially gets its own security group, called launch-wizard-1:
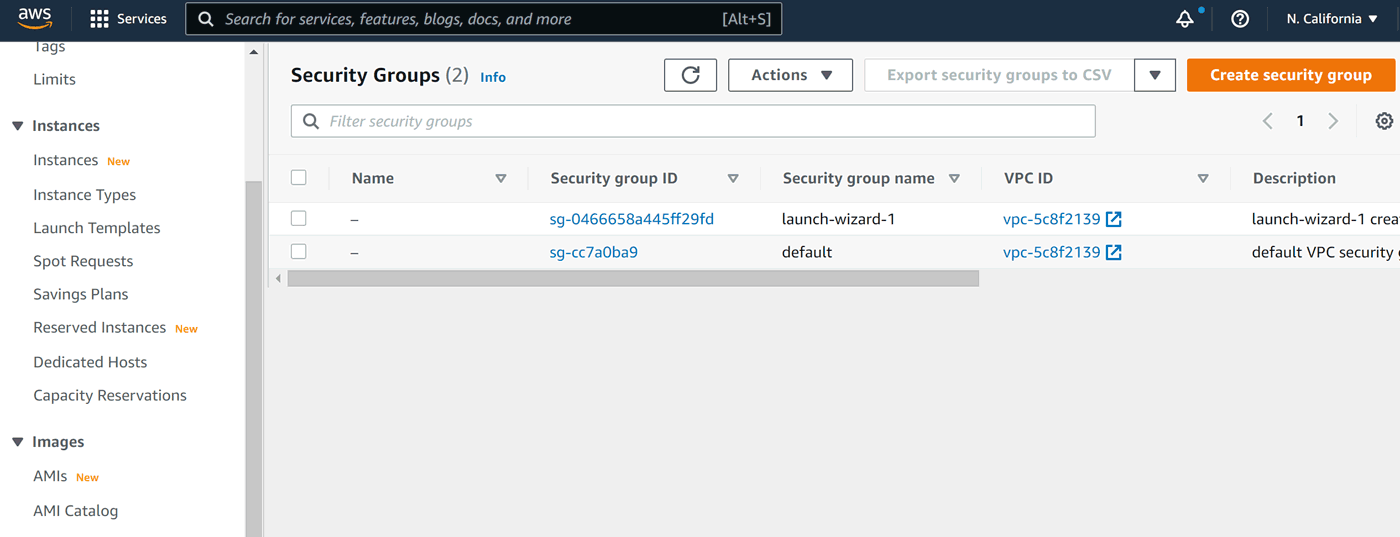
launch-wizard-1 has only one port open: 22. This is enough to connect to it via ssh or scp. For a web application though we of course need at least port 80 open. And if we are serious, we should add port 443, too.
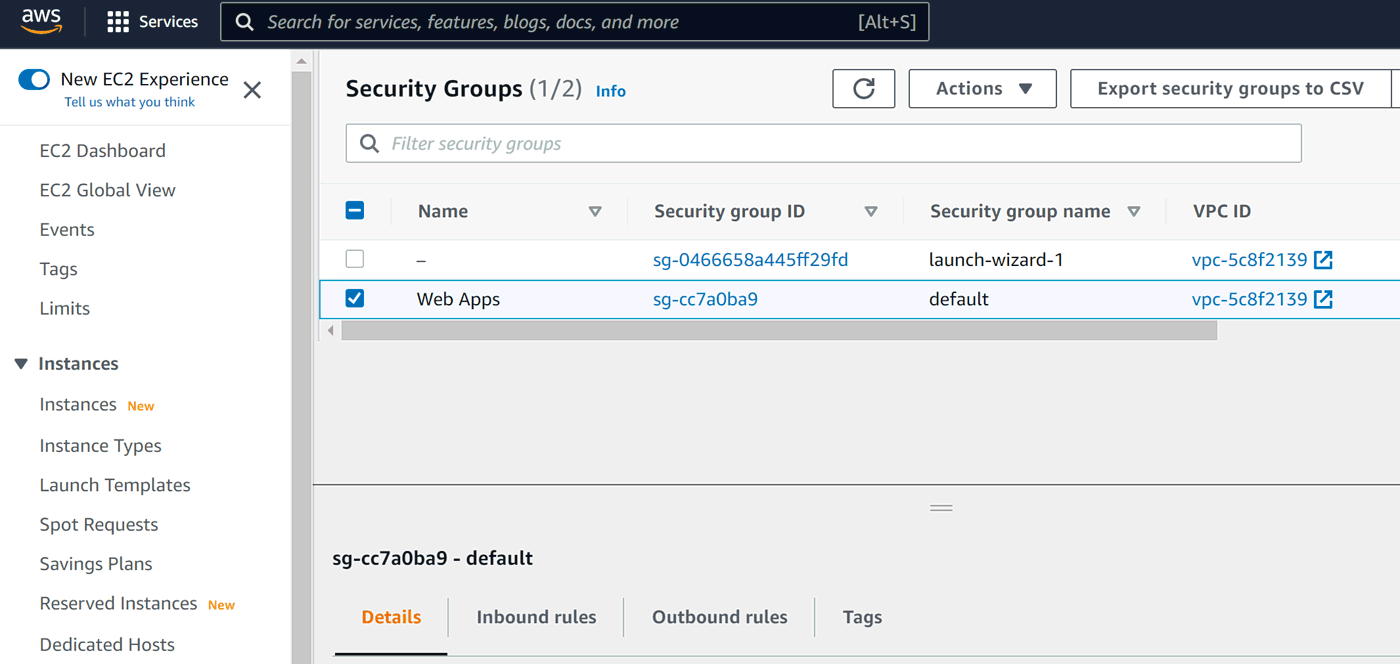
Let's use default group as our general web apps security settings and start with... yes! – naming it:
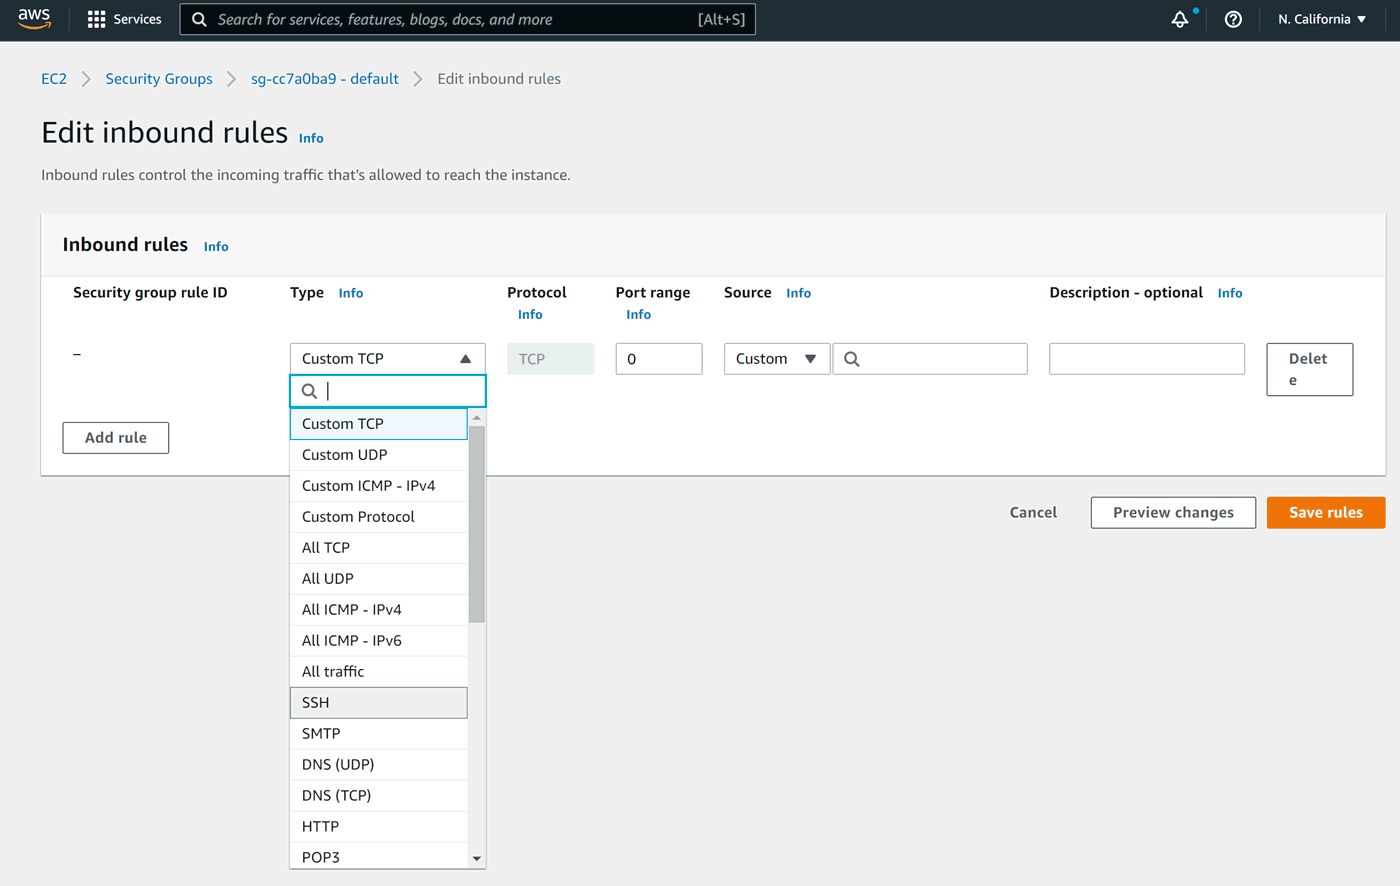
Now we need to click Actions, then Edit inbound rules:

Because this forms tends to reject changes to the default rule, we should start with deleting it (button at far right), then click Add rule:

Let's start with SSH:
Allow traffic from any IPv4 address:
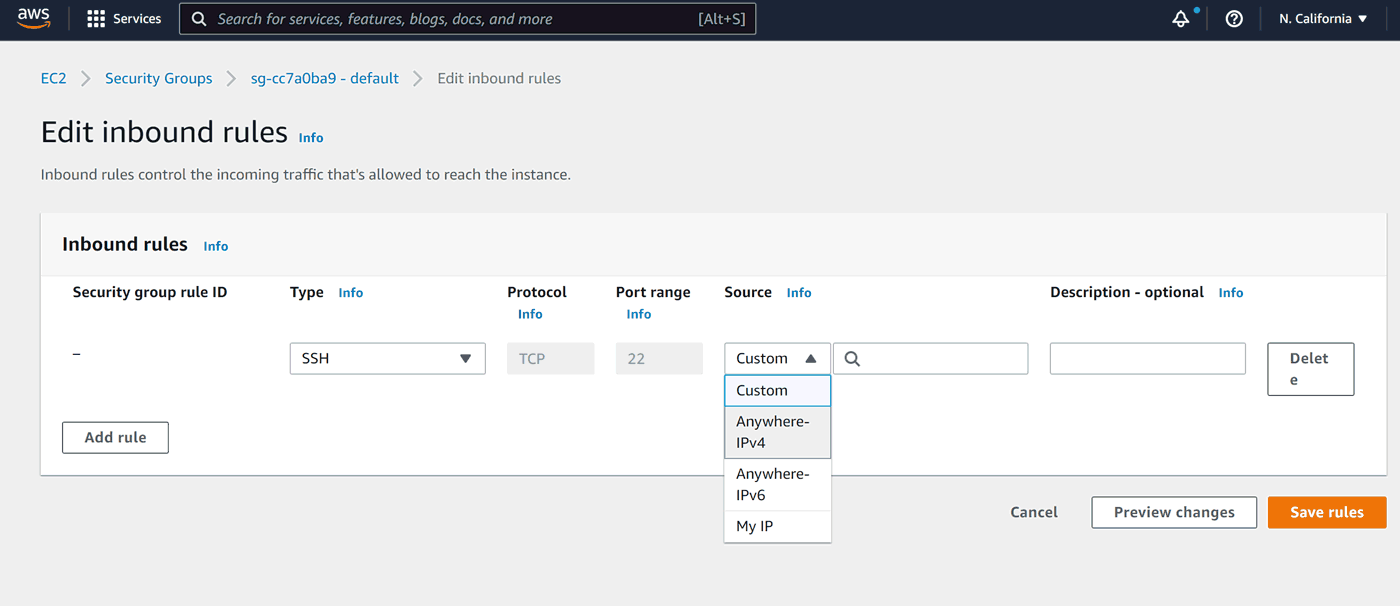
Let's add HTTP and HTTPS the same way:
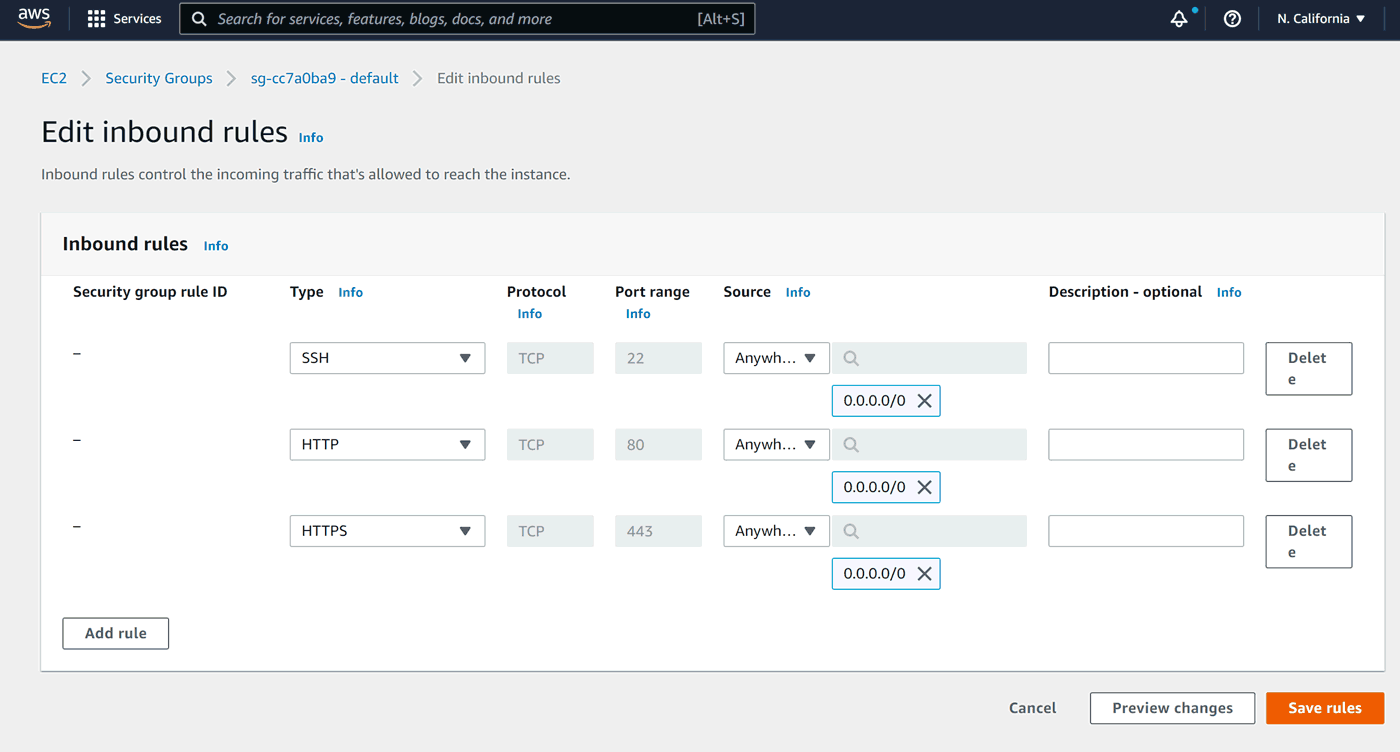
Time to Save rules.
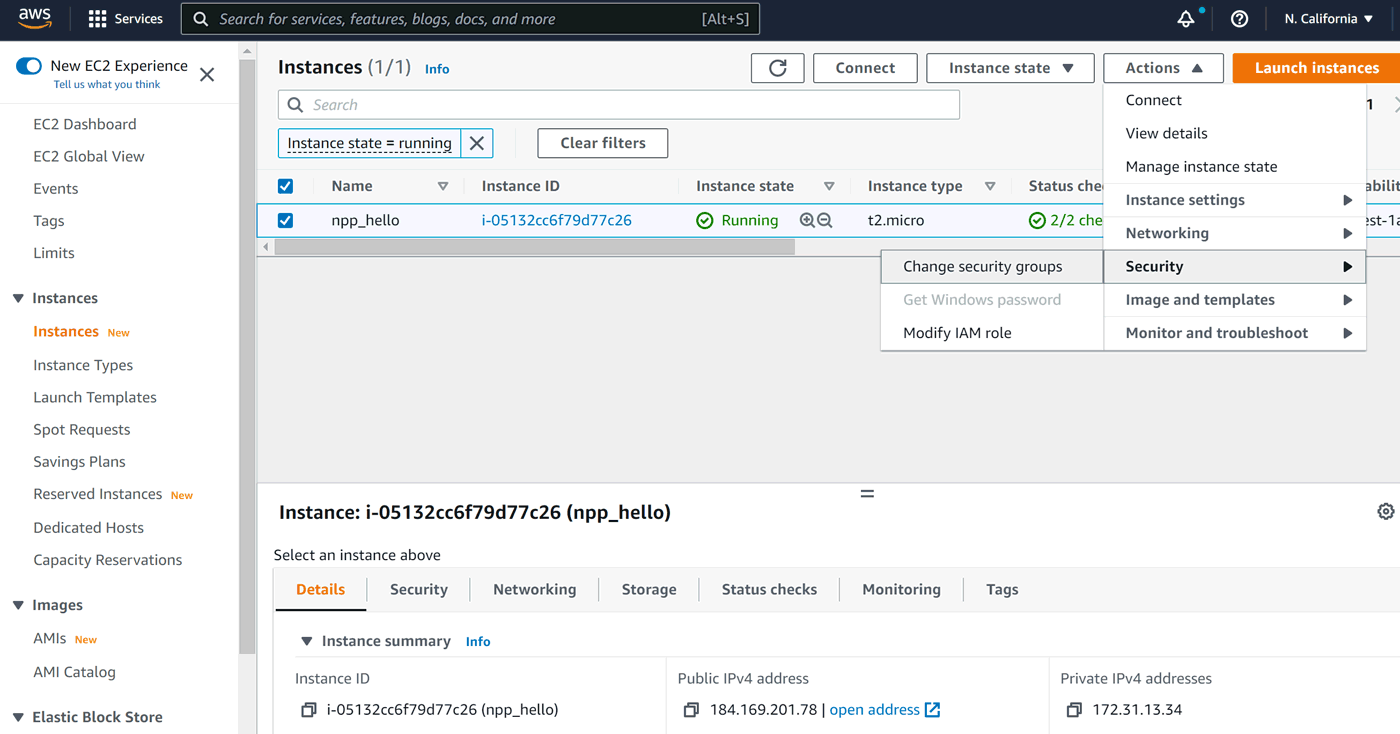
The last thing to do is to apply the new security rules to our instance. Let's look at the instances again:
In order to change the security group for an instance, we need to click Actions, then Security, then Change security groups:
The next screen was slightly less intuitive for me, as after choosing my Web Apps group I clicked Save, which was not what I wanted! Note that this is actually a list of security groups assigned to an instance:
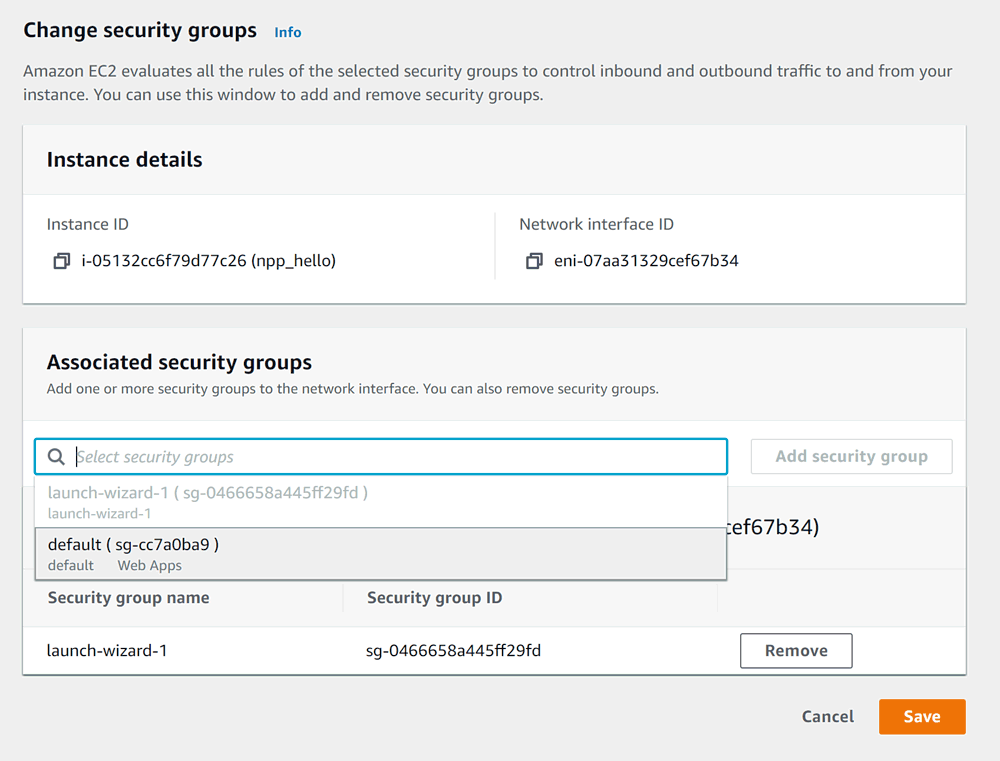
Therefore we need to click Add security group:
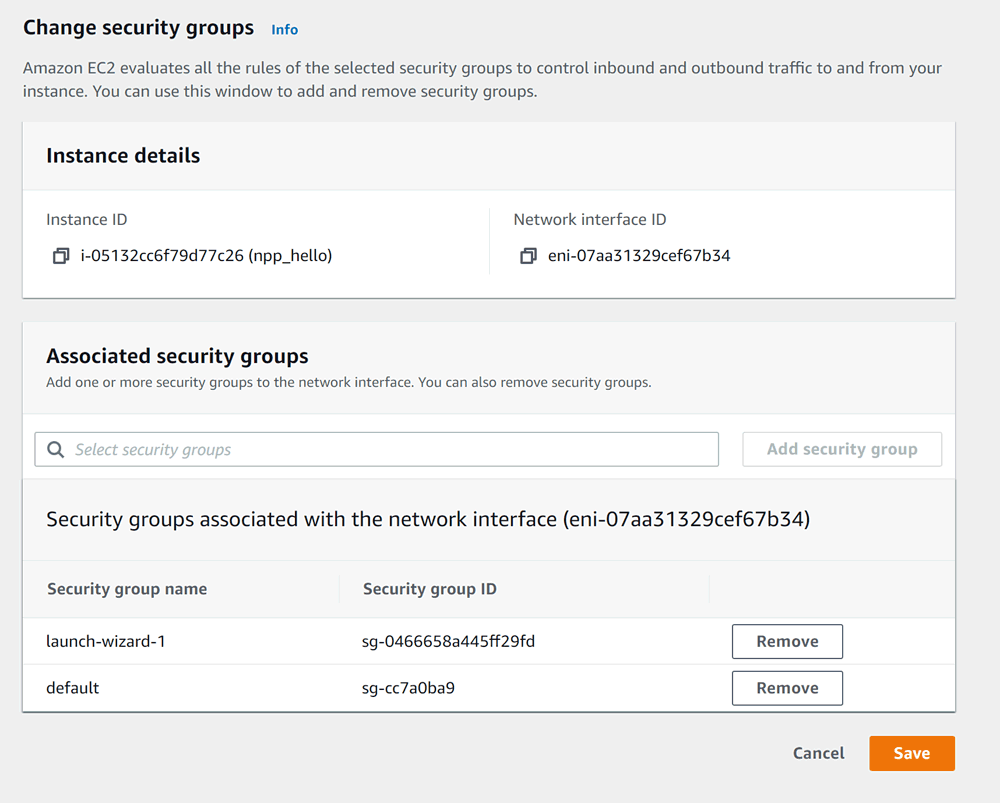
Then, next to lauch-wizard-1 – Remove, leaving only default:
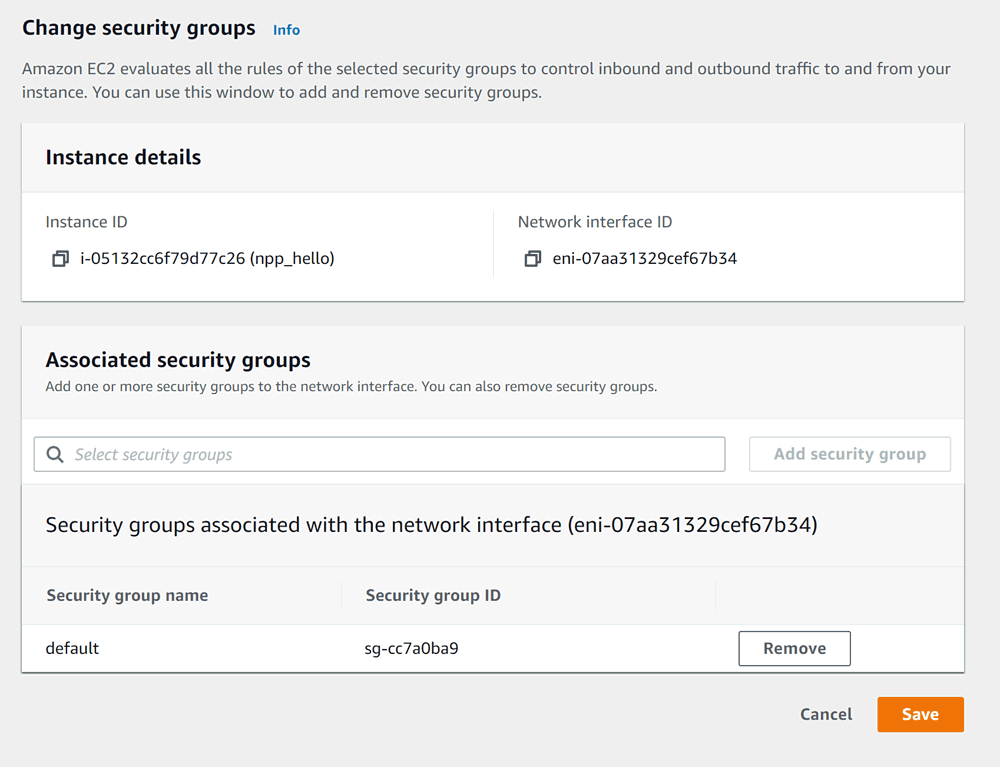
Only now we can click Save.
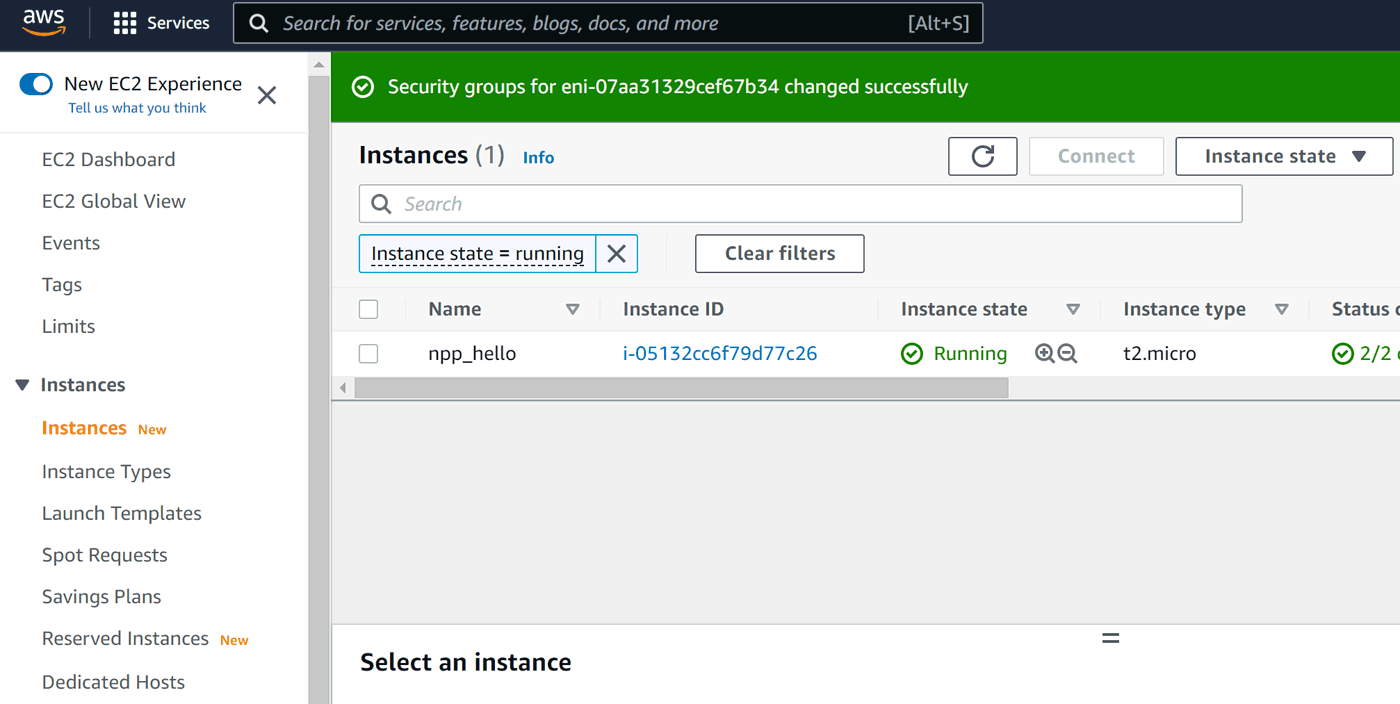
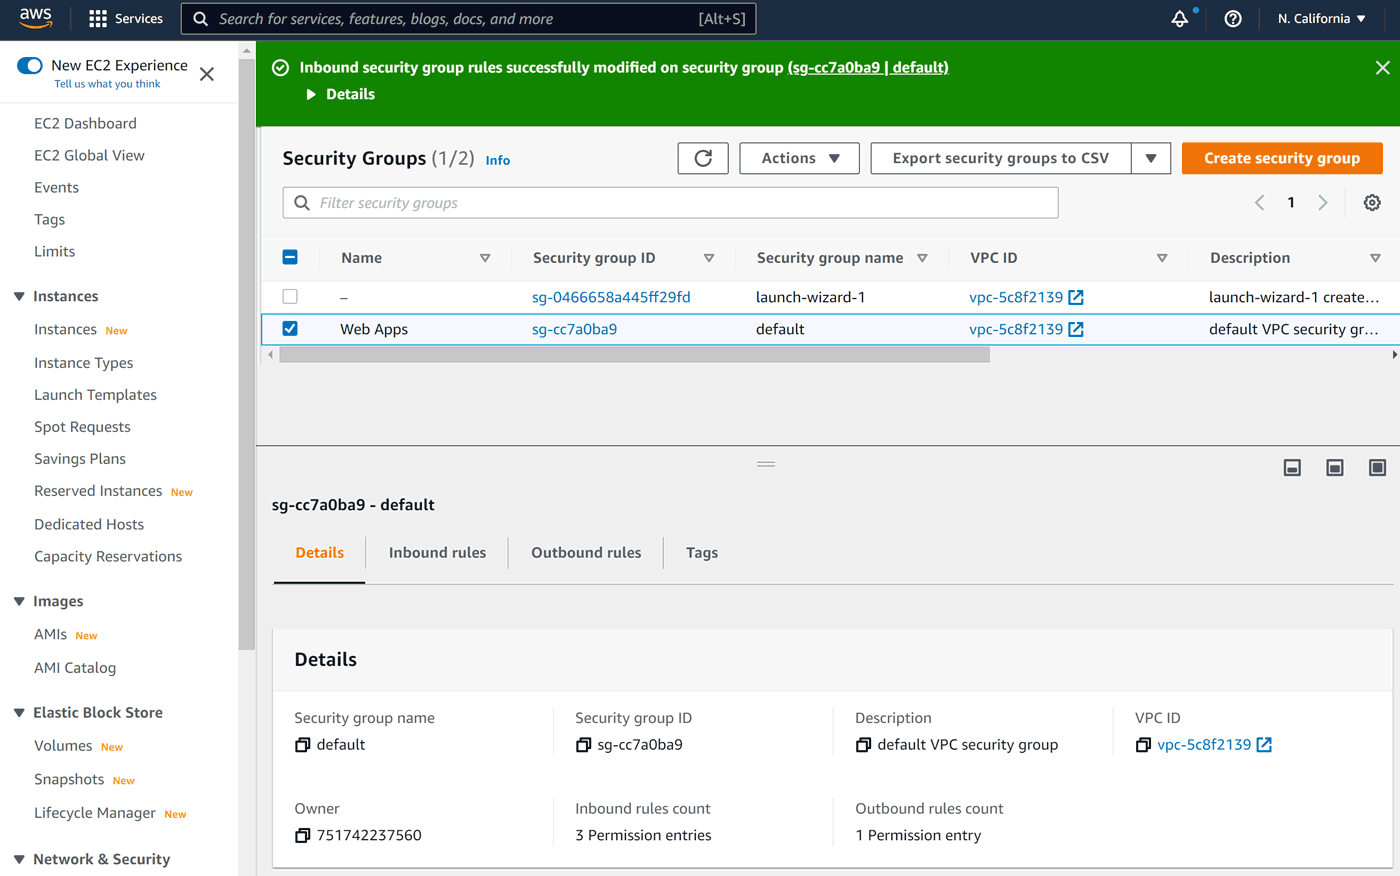
After clicking on our instance's row and Security tab below, we can see updated rules:
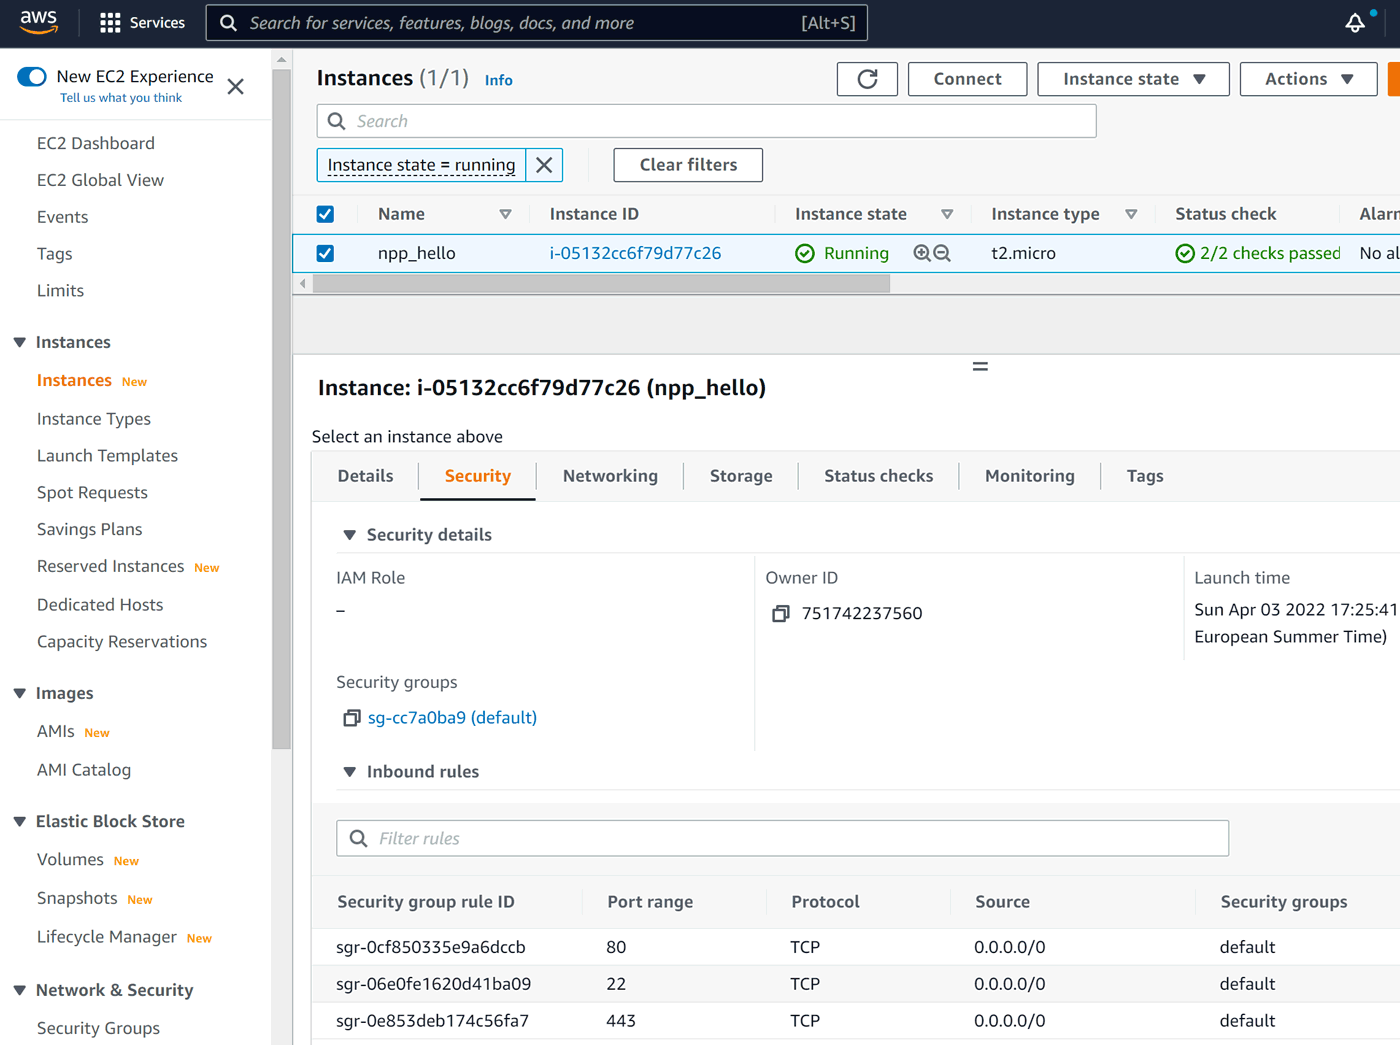
That's it for now! We have running Linux instance in a data center of our choice, with permanent IPv4 address, available from anywhere on the planet, 24/7.
Next part: Putting your web application online – Part 2 – Node++ app on the server
Is something wrong here? Please, let us know! 